
Let’s setup a basic Block Producer on XPR Network Testnet. Once you’ve been running on testnet for two weeks you can apply to become a Block Producer on Proton Mainnet!
Step 1 – Setup the Node!
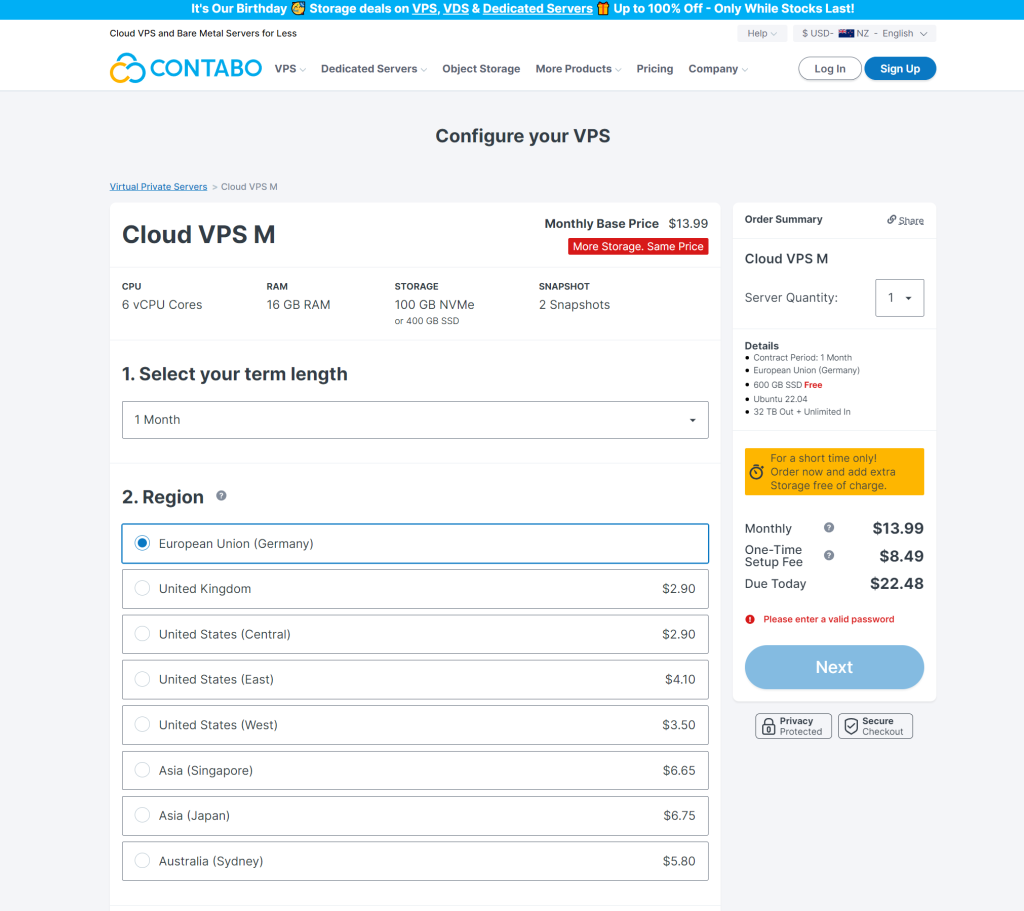
First get a server from contabo.com or wherever you get your servers from. Proton Blockchain requires higher spec machines than Metal Blockchain.
We are going to setup a combined Producer + API node.
When you’re on mainnet and producing blocks you’ll need to separate the Producer and API nodes in to 2 different servers.
For testnet we can use a lower spec virtual machine, once we’re on mainnet and producing blocks we can upgrade our servers.
Testnet Minimum Spec
- 2.8+ Ghz CPU
- 16 GB RAM
- 600 GB Storage
- Ubuntu 22.04
Pick a region and term length. I’m choosing one month because this machine is for tutorial purposes only.
Pick a decent storage type, 600GB SSD is fine, then choose the Image or OS we’re going to install. Let’s select 22.04
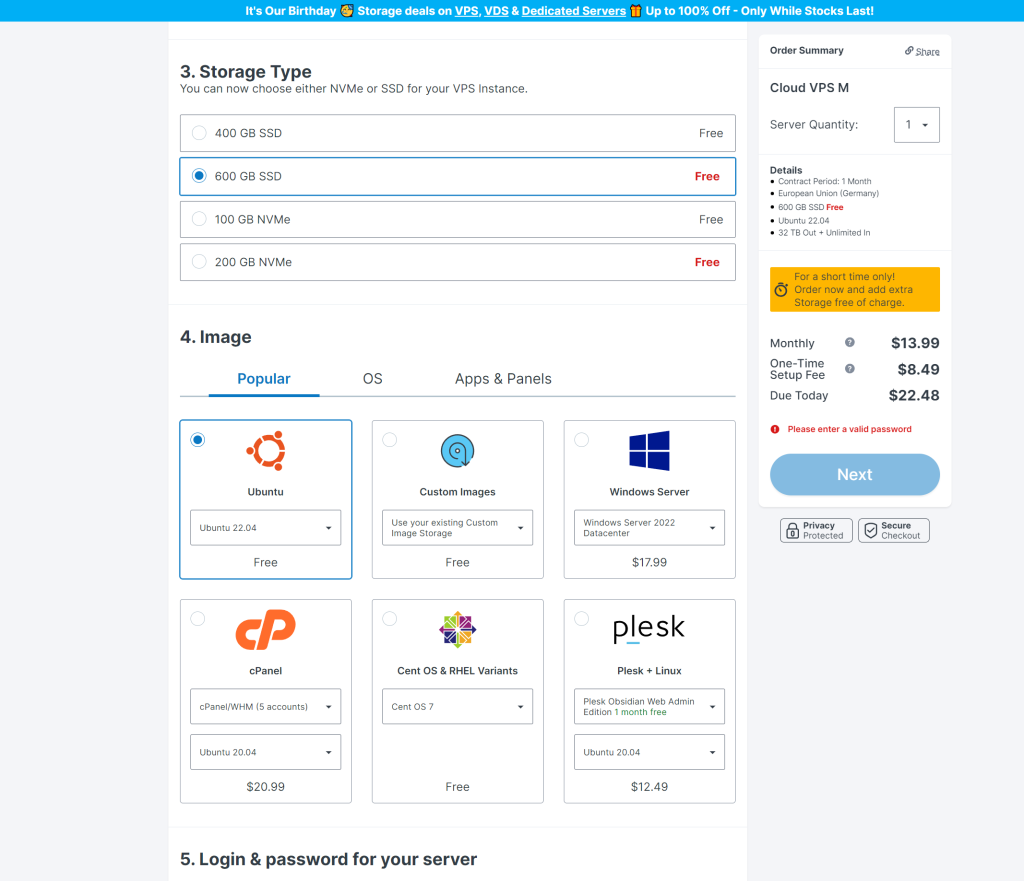
Then select a password and leave the rest of the options the same.
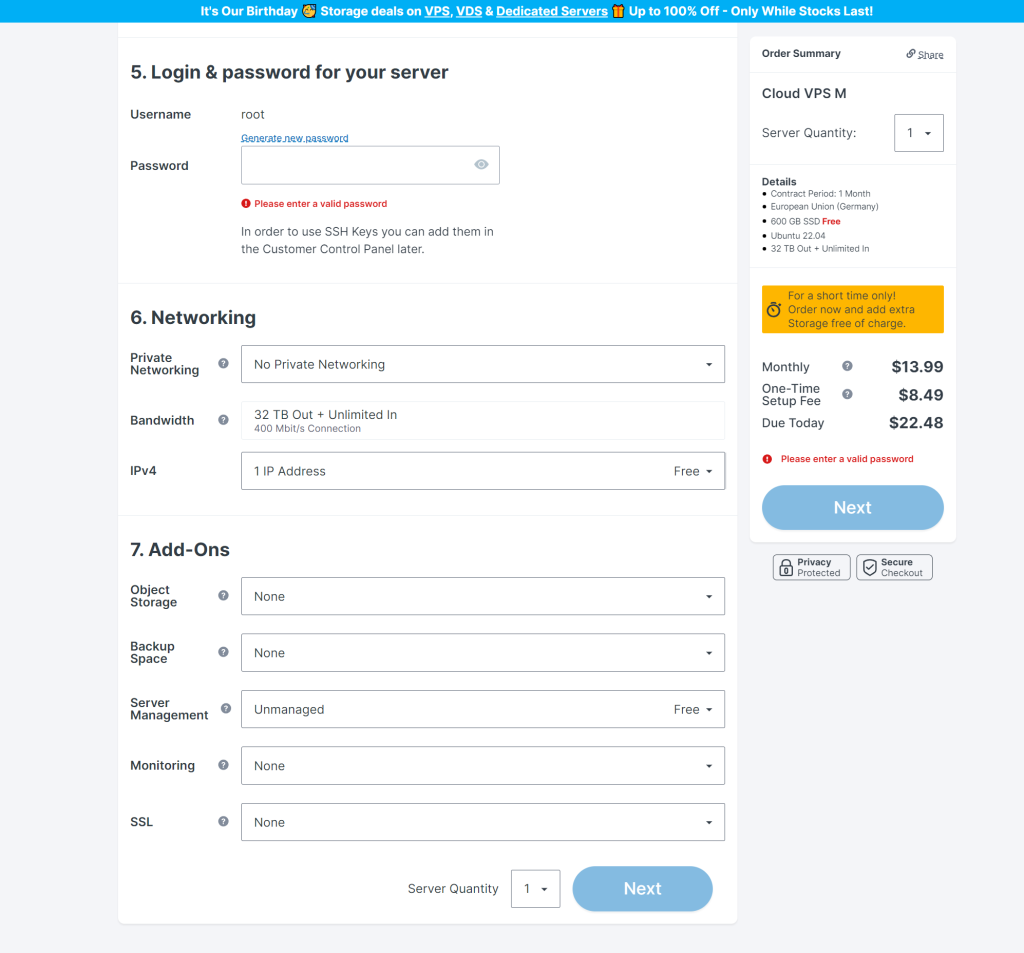
Complete payment and return to this tutorial once your server is live and ready to login.
You will receive an email with the IP address for your new server.
Open up your terminal and ssh in to your new server by typing the command;
ssh username@server_ip
In my case you can see I run this command below and then select ‘yes’ and enter my password.
ssh root@38.242.251.112
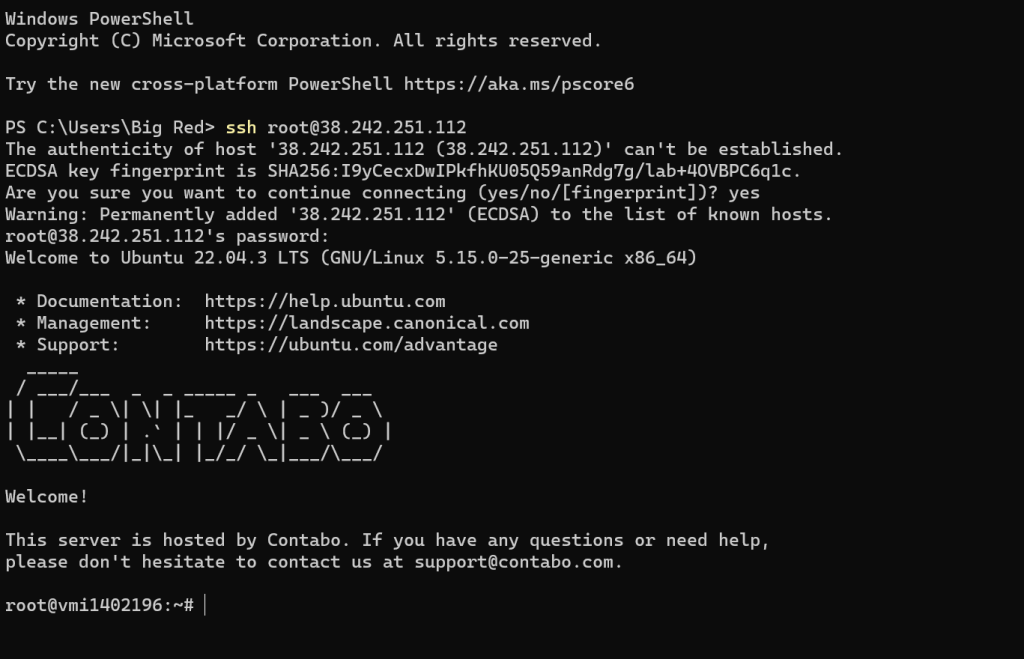
Great job, now we’re connected to our new server.
First let’s download the latest version of Antelope Leap which is 4.0.4. You can find the latest release here, grab the correct version for the OS you’re using. We installed Ubuntu 22.04 as our OS so let’s use the correct version below.
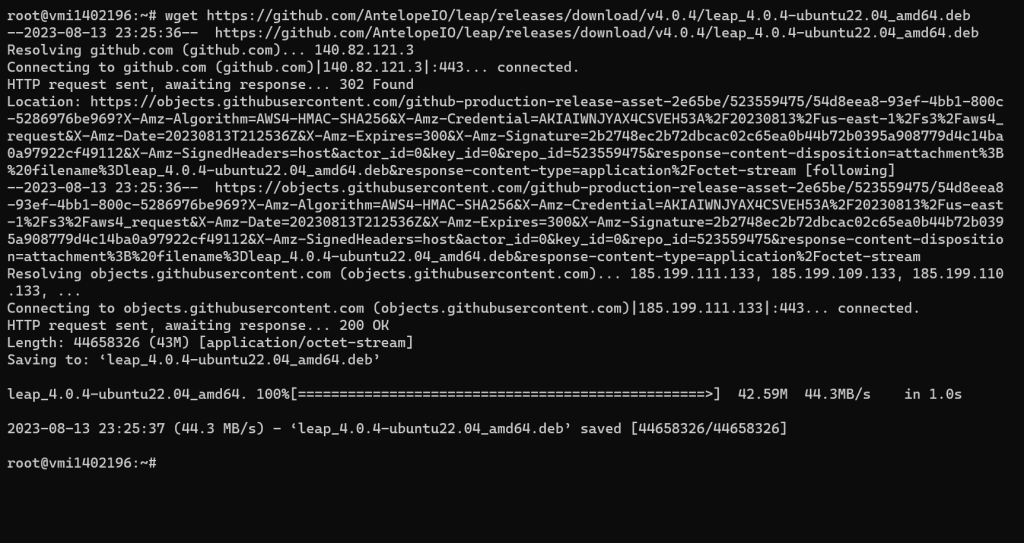
wget https://github.com/AntelopeIO/leap/releases/download/v4.0.4/leap_4.0.4-ubuntu22.04_amd64.deb
That should be complete and your terminal look something like this.
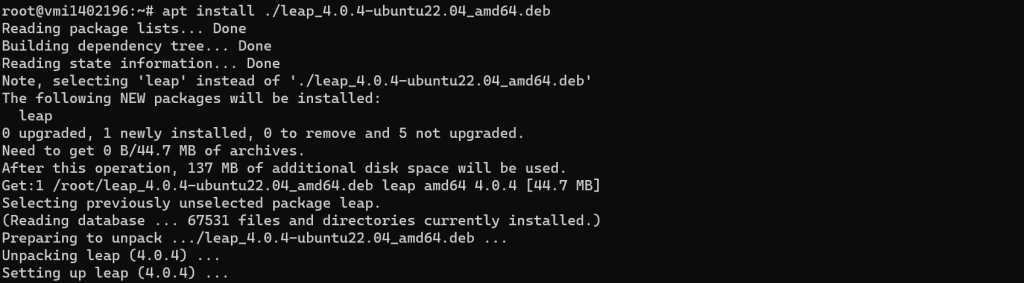
Now let’s install that .deb file we just downloaded by running
sudo apt install ./leap_4.0.4-ubuntu22.04_amd64.deb
Next let’s create a folder for the ProtonTestnet node config files and clone the github repo there.
First make a new directory in the /opt/ dir by running
mkdir /opt/ProtonTestnet
Now change directory in to that new directory we just created
cd /opt/ProtonTestnet
And clone the xpr-testnet repo into that directory
git clone https://github.com/XPRNetwork/xpr-testnet.start.git ./
If you don’t get have git installed you will get this error

Let’s update packages
sudo apt-get update
Then install git by running
sudo apt-get install git
Once git is installed go ahead and run the git clone command from above again and it will download the repo to your server.

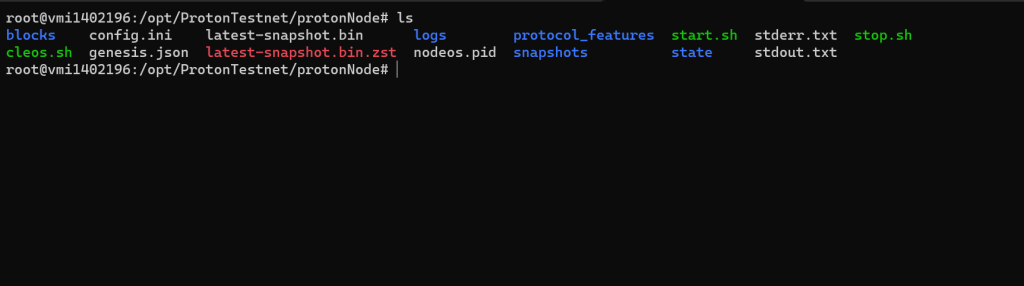
Now you can type ls in to the console and get a list of files and folders, then cd in to the protonNode directory like so
ls
cd protonNode

Now let’s start syncing the chain!
Run the following command to start from genesis
./start.sh --delete-all-blocks --genesis-json genesis.json

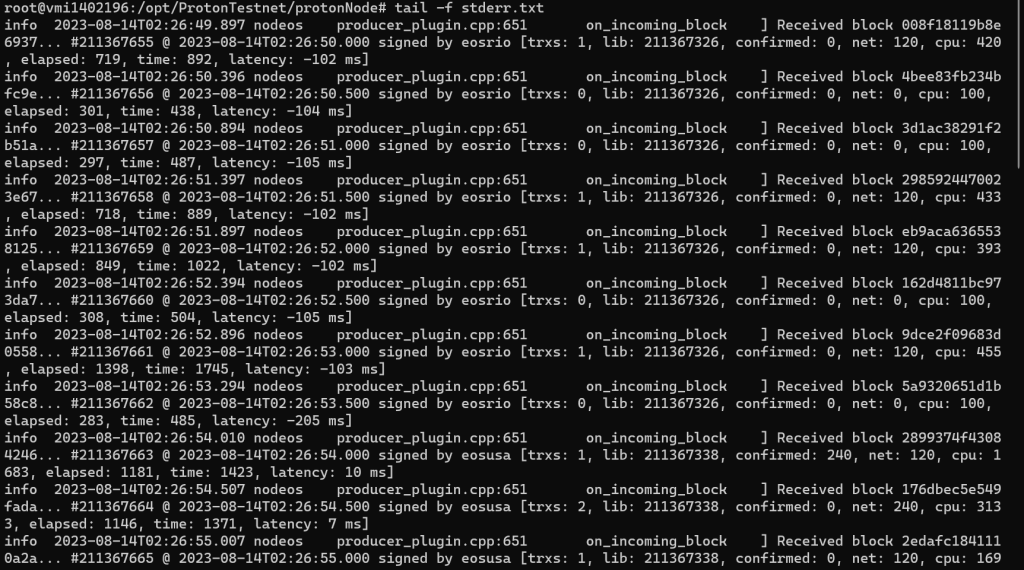
Then let’s follow the log files to see what’s happening by running
tail -f stderr.txt
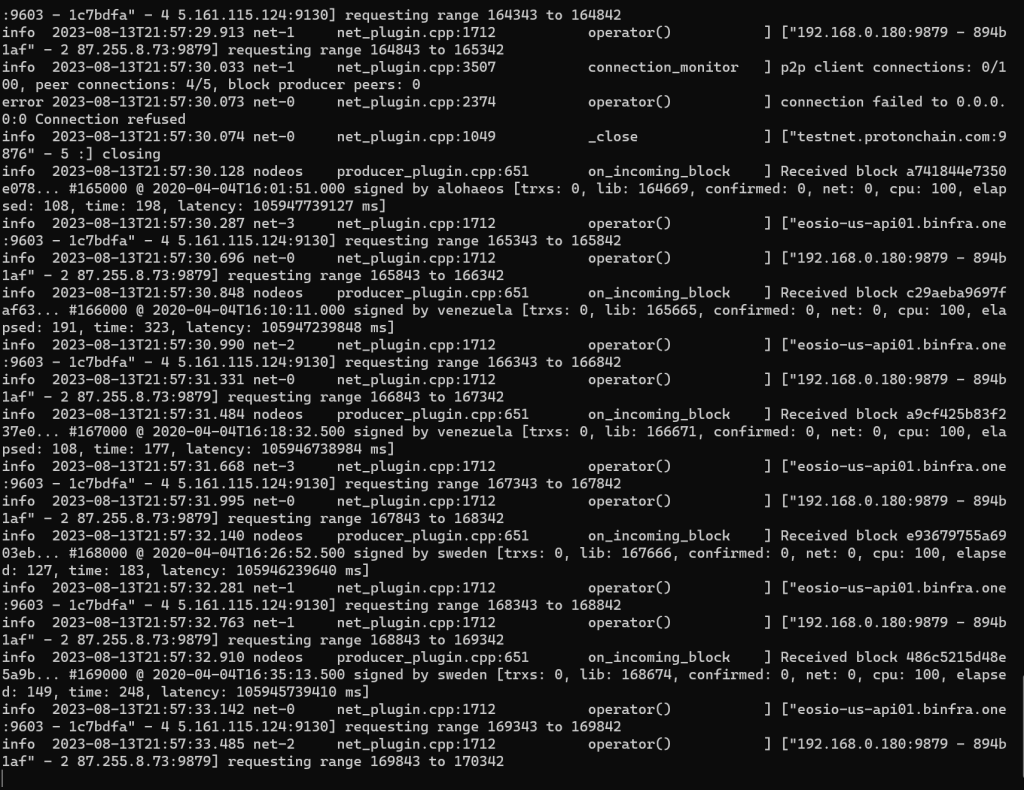
You will see your server going through and syncing blocks from genesis in April 2020
Now press Ctrl + C to escape that scrolling list of blocks!
So if you look carefully at the terminal there you will notice a date;
Received block 5a4117d8cc312359… #630000 @ 2020-04-07T08:43:55.000 signed by protonbpb
That is where we are up to in terms of syncing with the older blocks. If you keep checking this by running that tail -f (follow) command above you will notice this process is really slow. We don’t have time for that!
So let’s stop nodeos by running
./stop.sh

Now rather than syncing from genesis we’re going to start from a snapshot.
Snapshots are kindly provided by some Block Producers. In this case we’re going to fetch the latest-snapshot from Crypto Lions.
https://backup.cryptolions.io/ProtonTestNet/snapshots/
Here you can see latest snapshots in a zst compressed format.
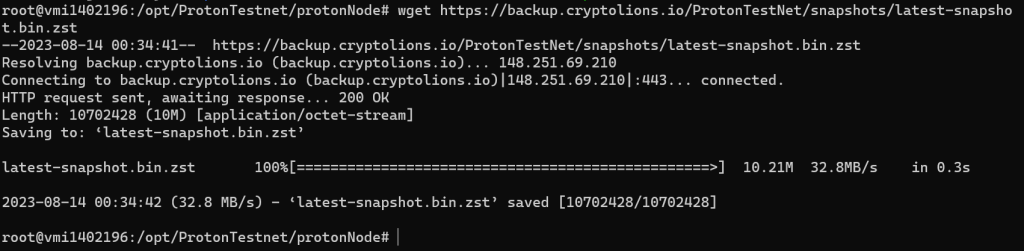
First let’s download the latest-snapshot by running
wget https://backup.cryptolions.io/ProtonTestNet/snapshots/latest-snapshot.bin.zst
Assuming you ran that command from /opt/ProtonTestnet/protonNode you will now have latest-snapshot.bin.zst saved in a suitable location.
Now we need to install some software to unzip the zst file.
sudo apt install zstd
Now we can decompress latest-snapsot.bin.zst by running
unzstd latest-snapshot.bin.zst
Now if you run ls you should see your latest-snapshot.bin file in the directory.

Let’s copy that file to the snapshots folder
cp latest-snapshot.bin snapshots
We can check it coped by going to that folder
cd snapshots
And listing the directory
ls

Great, let’s go back a folder by typing
cd ..
Now we need to remove the blocks and state from the folders with the same name to remove old blocks and chain state from genesis because we are now going to start from snapshot.
rm ./blocks/*
rm ./state/*
Once that’s run let’s start nodeos from snapshot by running the start.sh script with the –snapshot option and file path like so
./start.sh --snapshot /opt/ProtonTestnet/protonNode/snapshots/latest-snapshot.bin

Now let’s tail that log file again by running
tail -f ./stderr.txt
Now type Ctrl + C to exit the tail follow and let’s check the last few entries in the log
Received block 13e7cb01162fe7c7… #211341106 @ 2023-08-13T22:45:29.500 signed by saltant
We can see the blocks are up to date!
Congratulations, your node is now syncing live with the Proton Blockchain!
Next up let’s prepare to setup the configuration to become a Block Producing Node!
Step 2 – Prepare for Block Production!
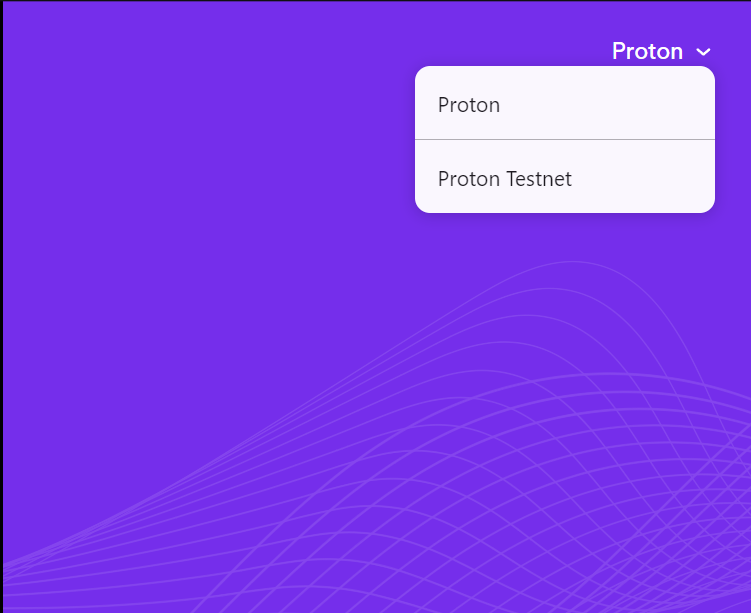
If you haven’t already let’s create an account on testnet using the WebAuth.com wallet.
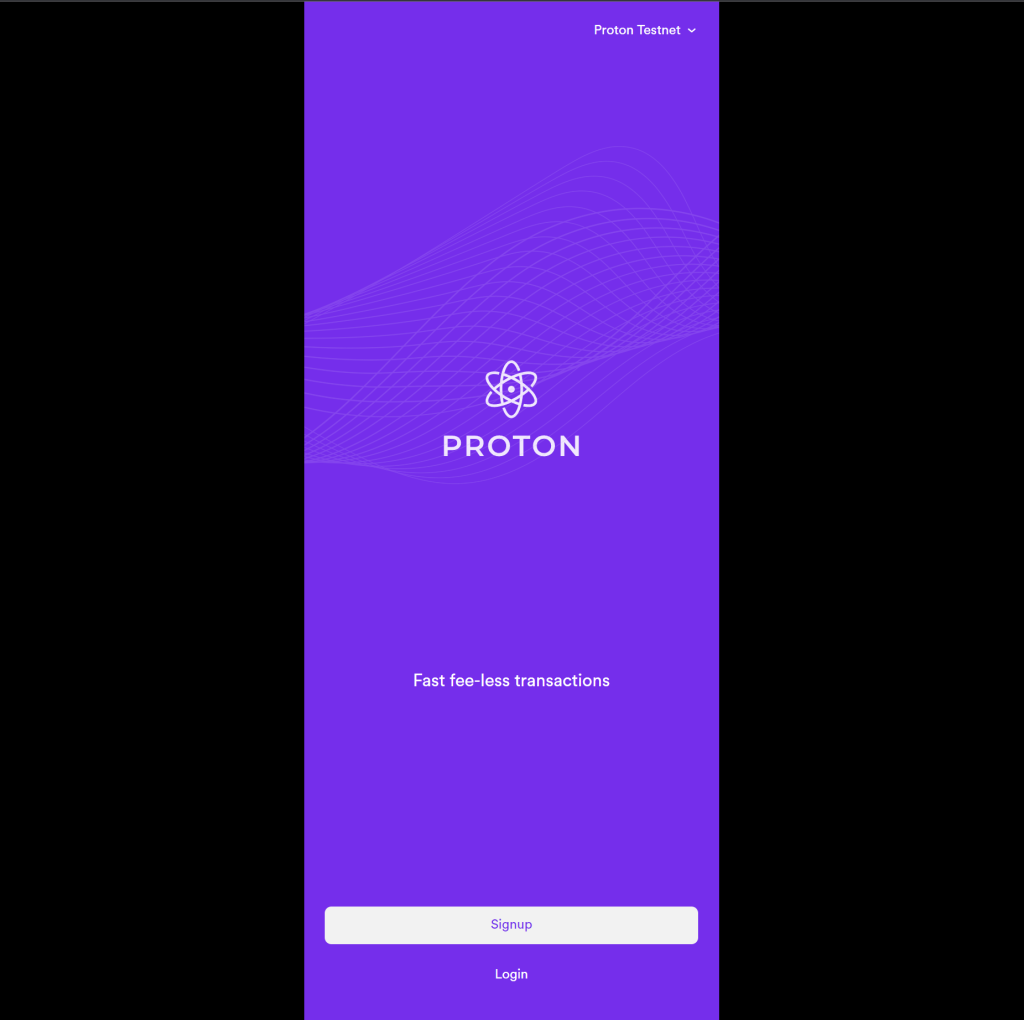
On the WebAuth.com wallet change to testnet by selecting the Proton dropdown top right and choose Proton Testnet
Now select Signup
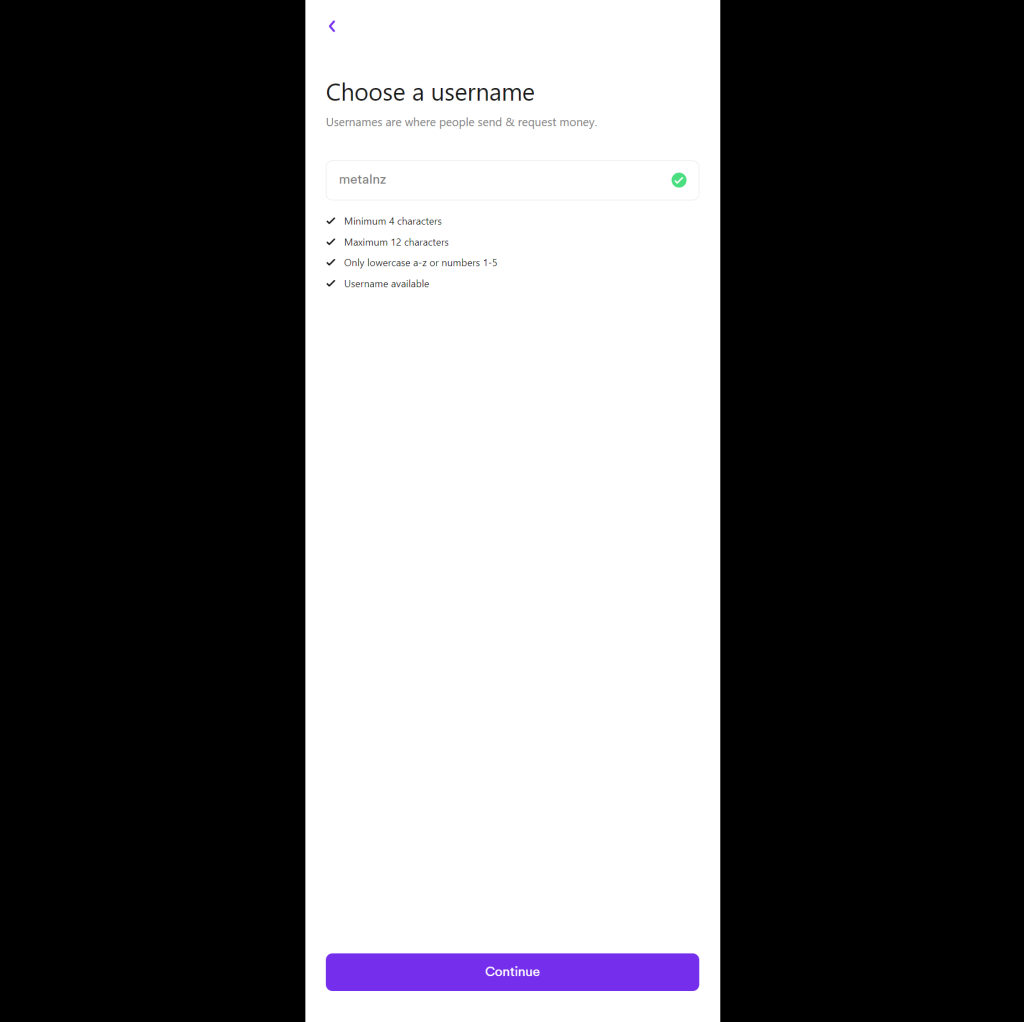
Choose a username (this will be your wallet address)
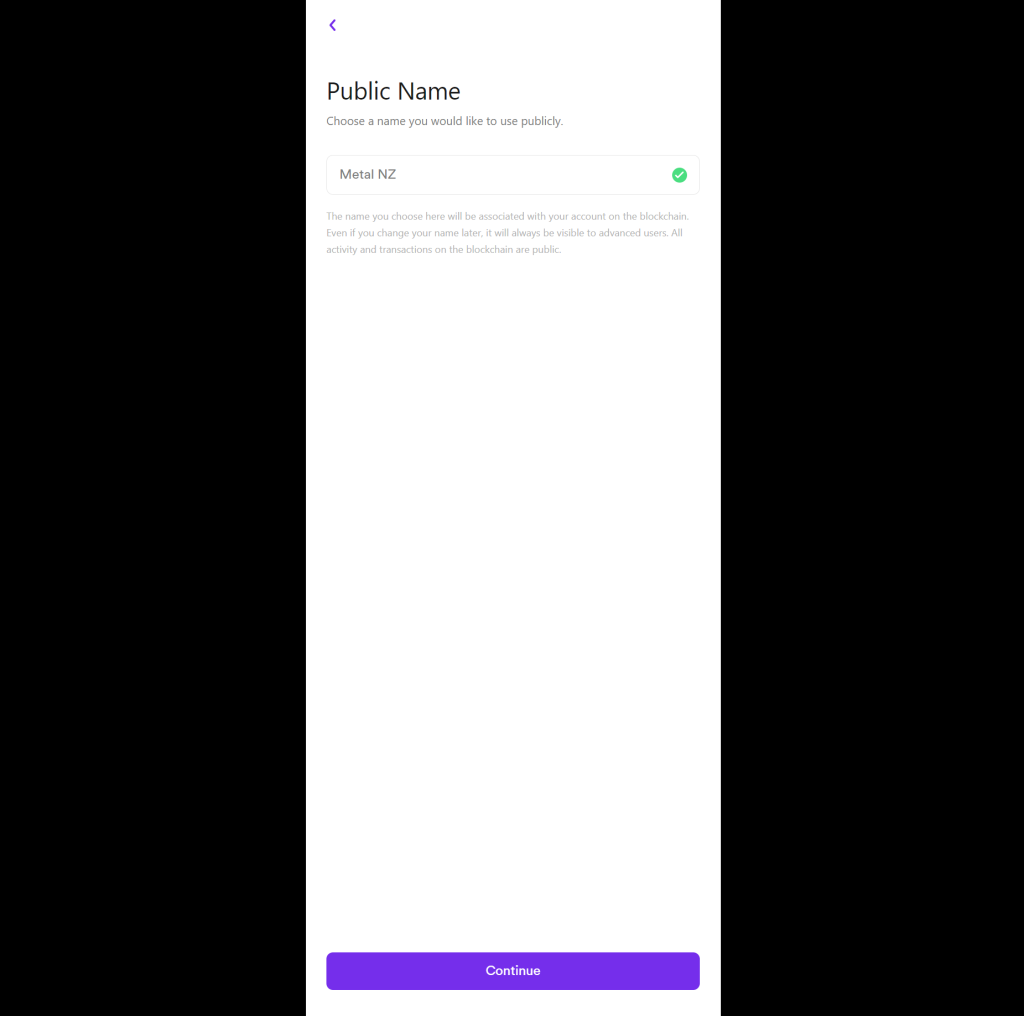
Choose a public name
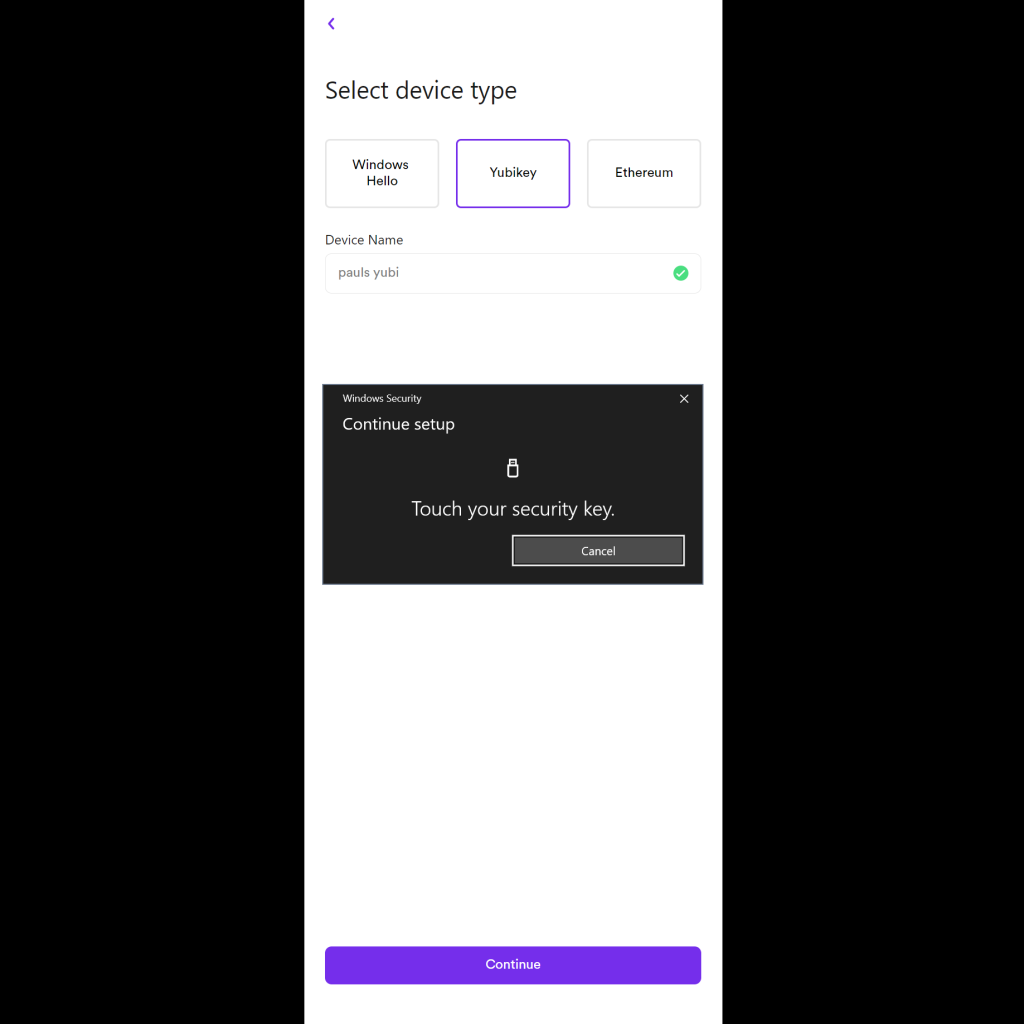
Select a signing device, in my case I’m using Yubikey. Name it and sign with your key.
You will then get a recovery phrase which you should save somewhere safe, and NEVER share it.
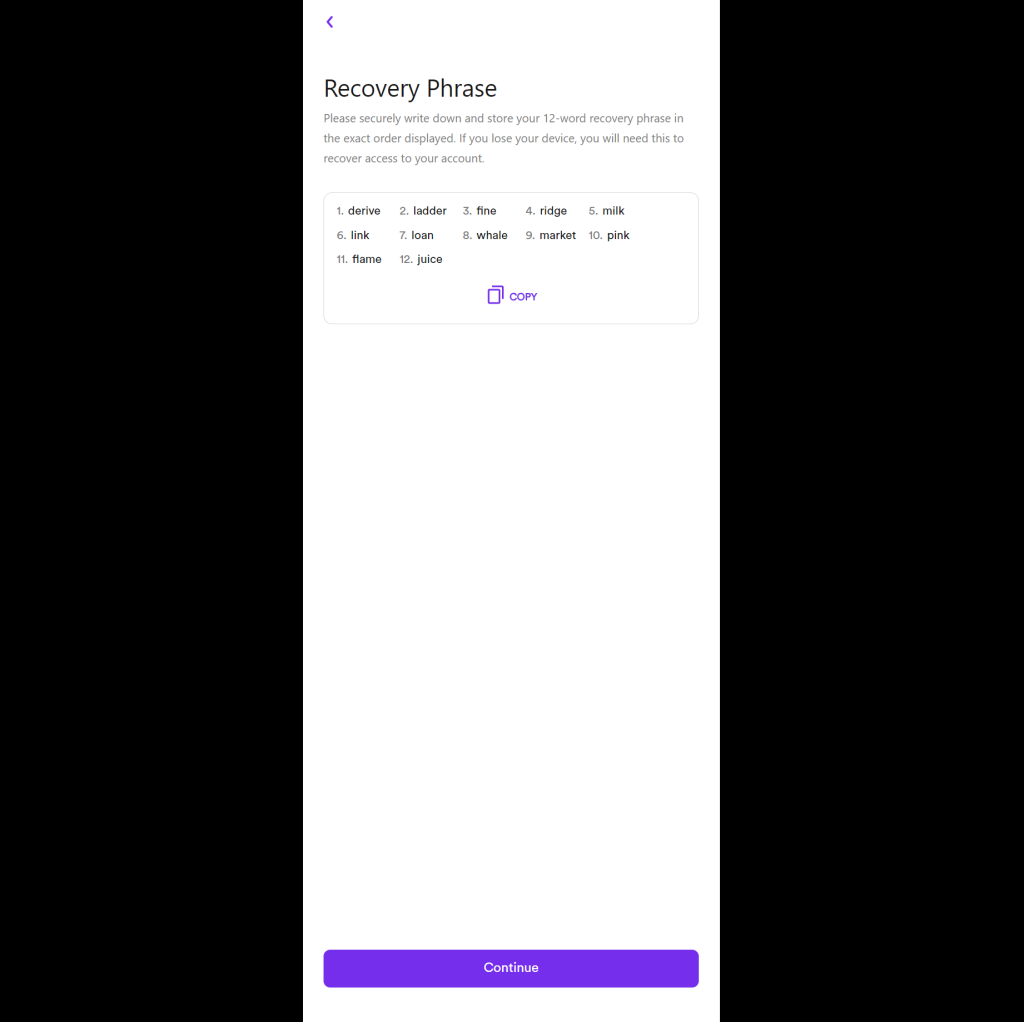
You should consider a password manager like bitwarden or 1password and save your recovery phrase there.
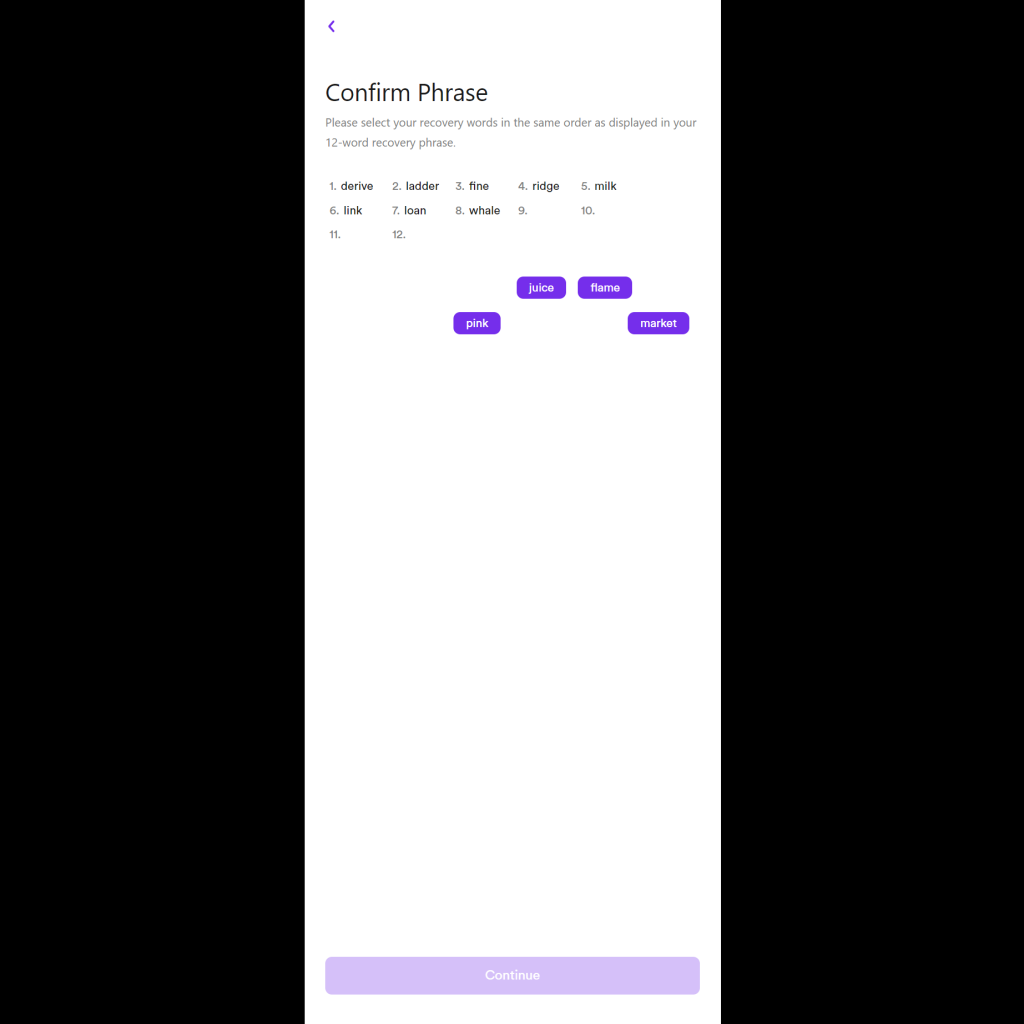
Now enter the recovery phrase back in, in order.
Enter an email address
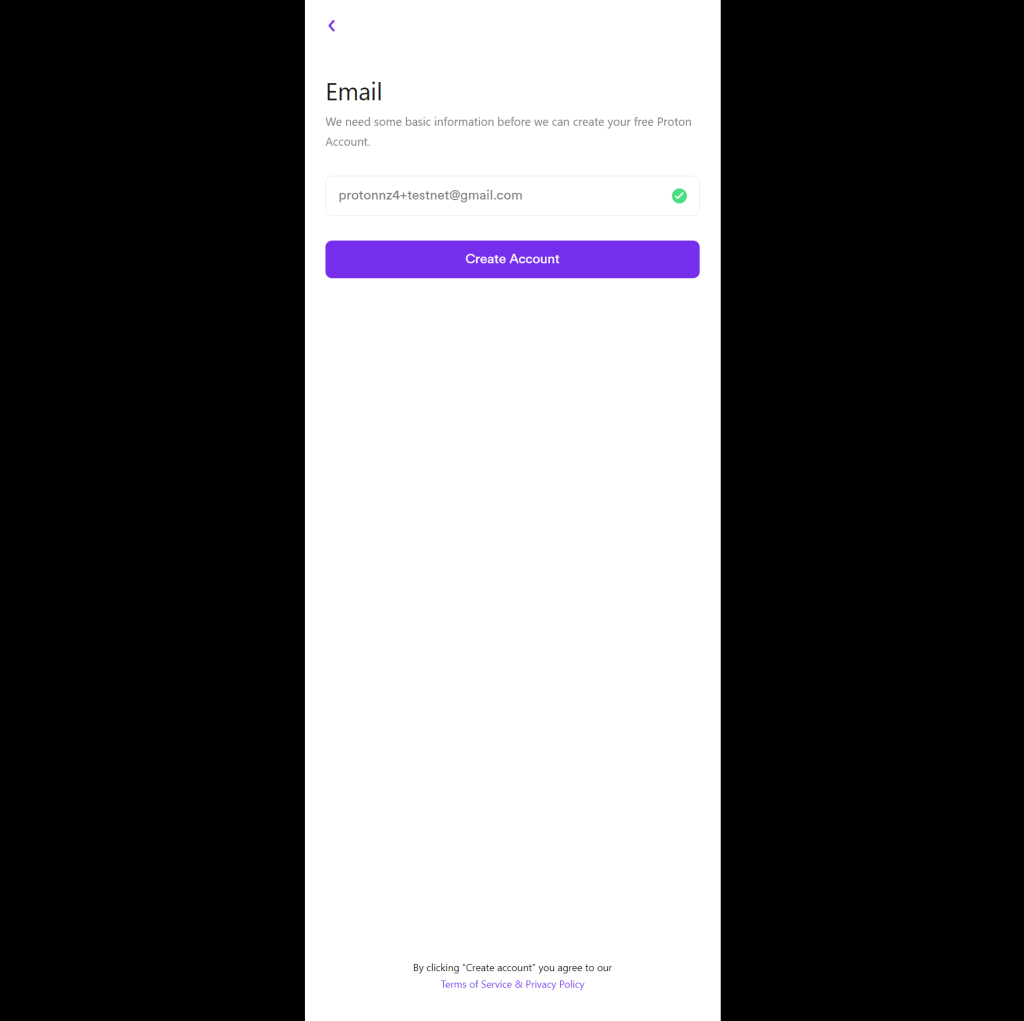
Now usually on Mainnet you will get an email with the verification code, but on Testnet you can simply enter 000000
Great, now we have an account on Testnet
Now visit https://explorer.xprnetwork.org/wallet/utilities/format-keys
Paste your recovery phrase in to the Mnemonic to Private Key field and press format. You will get a key like this below (remember never share this PVT key or your recovery phrase, anyone can steal your funds)
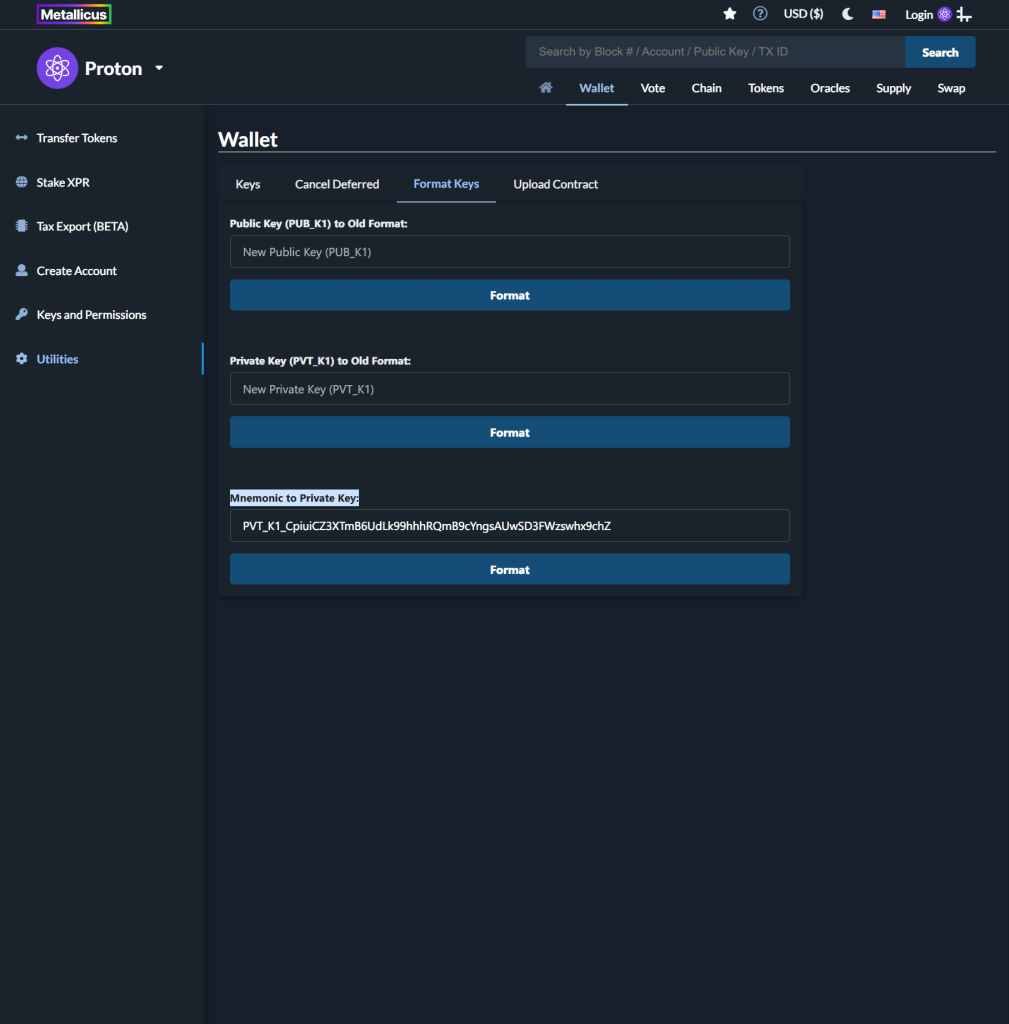
Save this key safely with your recovery phrase. Remember not to share this anywhere. I have since changed my keys.
Now switch to Proton Testnet on Protonscan.io and login top right using your WebAuth wallet in Testnet mode!
Once you’re in Testnet mode visit this link
This link will take you to the eosio.proton smart contract where we will request permission to register as a block producer.
Under acc enter your proton account and under permission enter regprod, like so
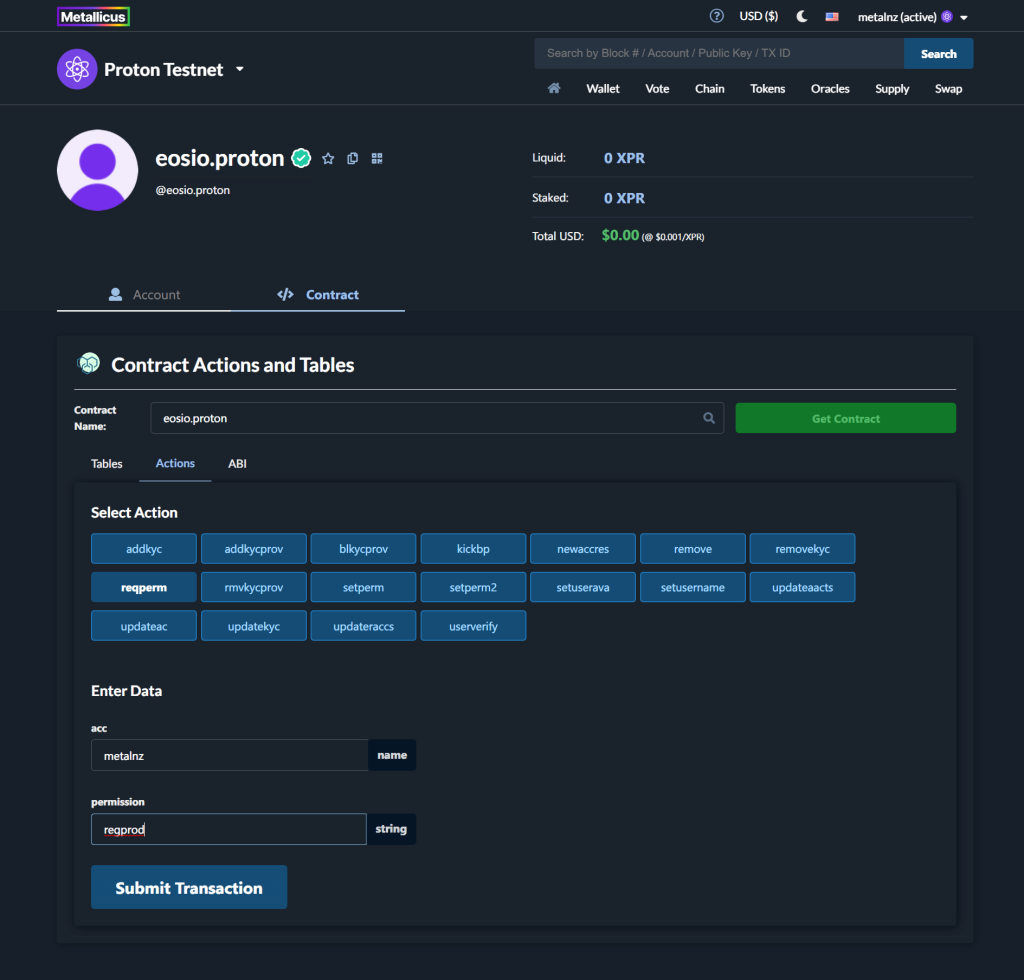
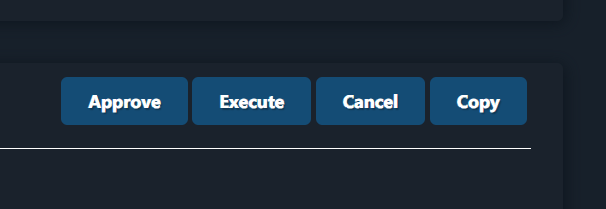
Submit Transaction!
Great now we requested permission. Visit the ProtonTestnet telegram group and ask for someone to approve your status.
To speed things up simply visit this msig link below and press the copy button.
https://testnet.explorer.xprnetwork.org/msig/metalnz/setpermmnz
Scroll down the page and choose Propose
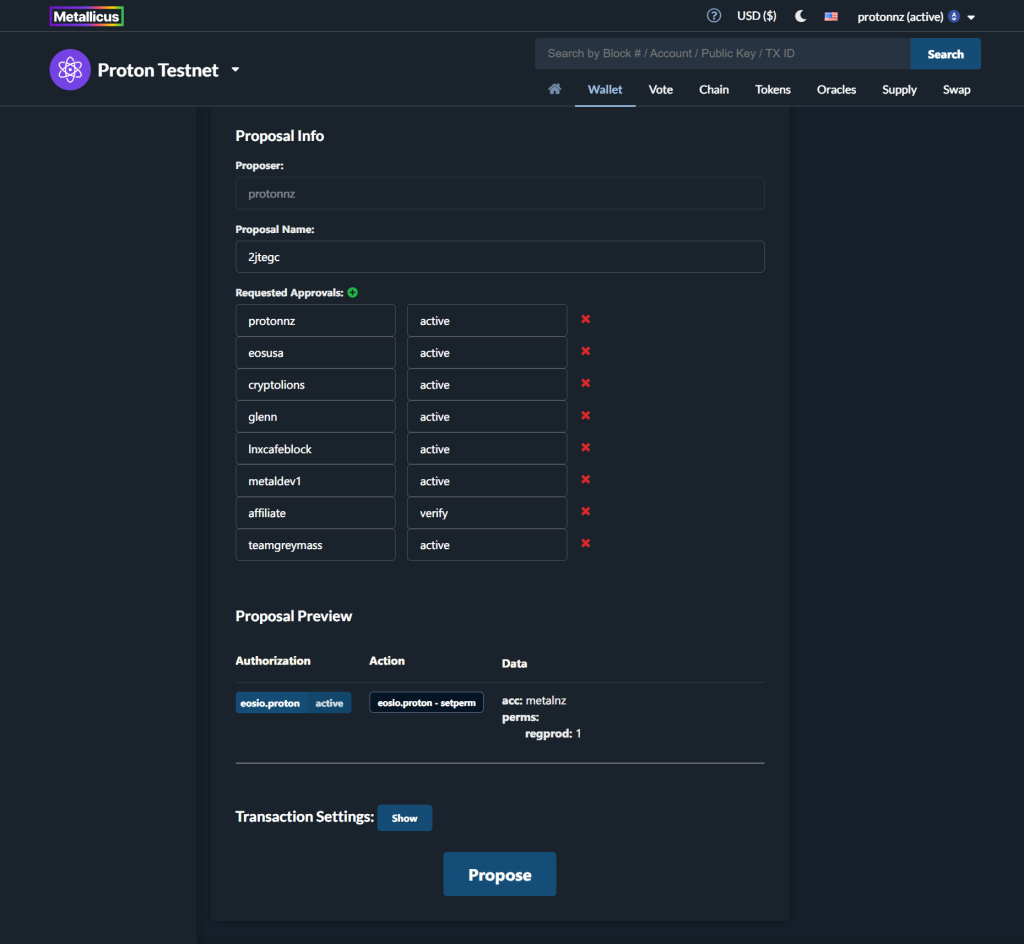
Once you have proposed the msig just wait for someone in the telegram to approve it.
You can try tagging one of the Admins or myself (paulprotonnz)
–
Congrats for making it this far! Go have some time to relax!
–
Now that we have permission let’s register as a block producer!
Visit this link below…
It will take us to the eosio smart contract where we can select an action, in this case it will be regproducer that registers our account as a block producer!
Enter your proton account name under producer (in my case it’s metalnz)
Enter your website URL and your country ISO code, for New Zealand it is 554
Find your three digit country code from here … USA is 840 for example.
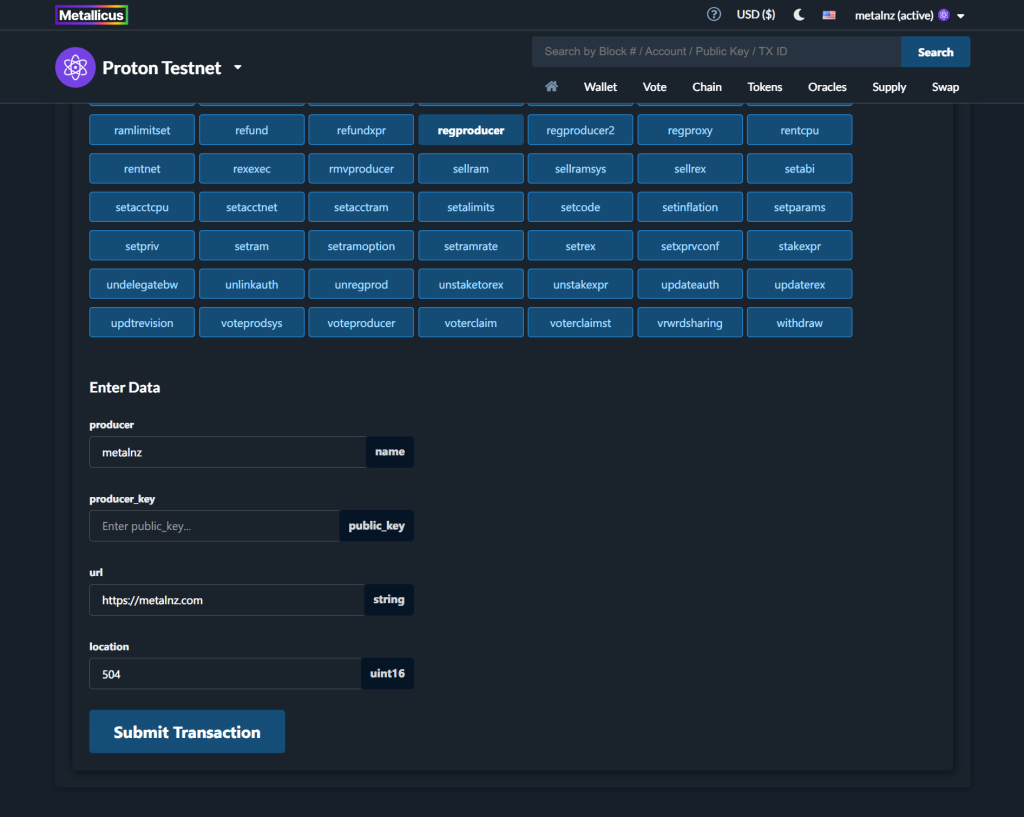
That leaves us with one more field, the producer_key… this is a NEW additional key we must generate. So in a new window visit https://testnet.explorer.xprnetwork.org/wallet/utilities/keys
Generate New Keys and save the Public and Private keys that it generates for you somewhere safe.
This is your PRODUCER KEY.
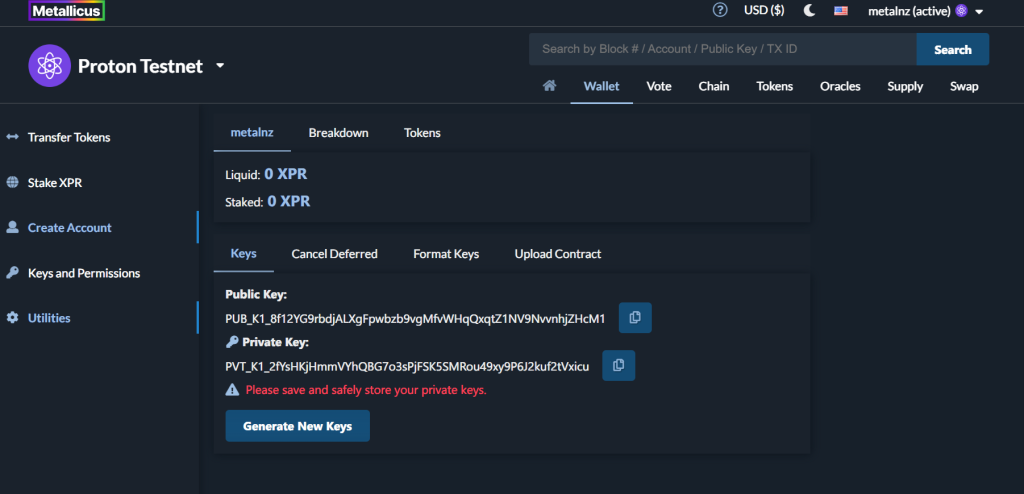
Copy the PUB_K1 (Public Key) and switch back to our contract actions and paste it in the producer_key field
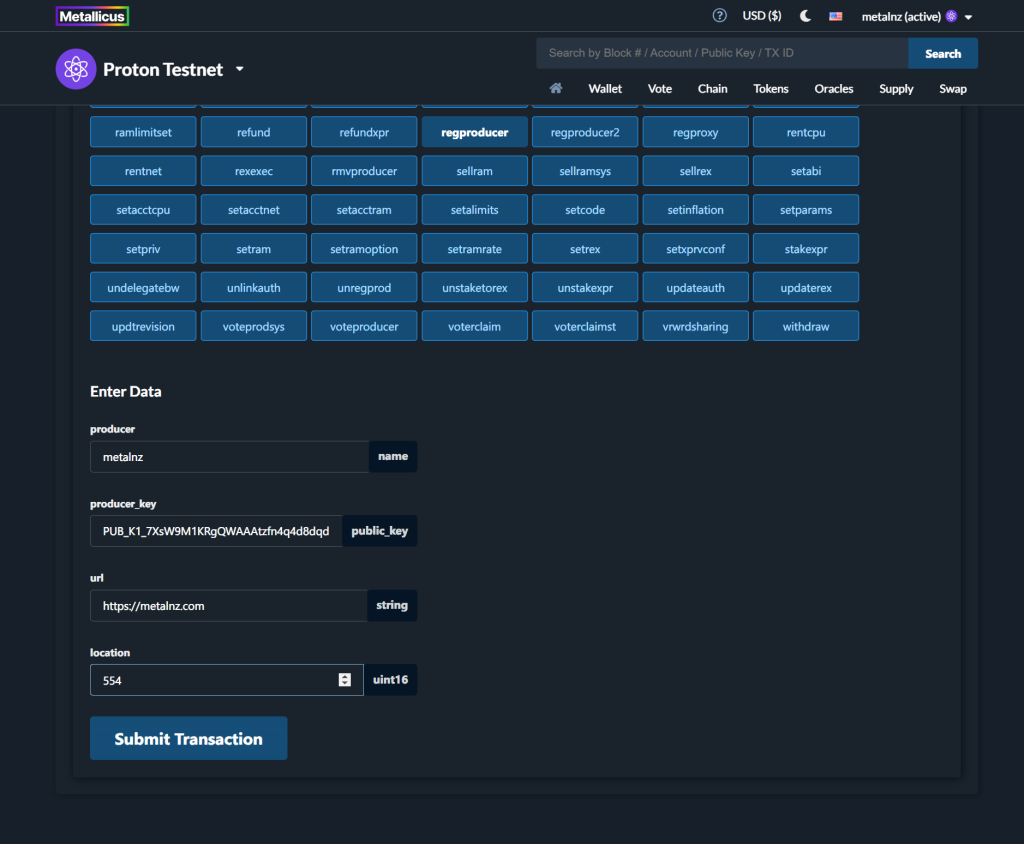
Now Submit Transaction!
Sign with your WebAuth wallet and you should see Success

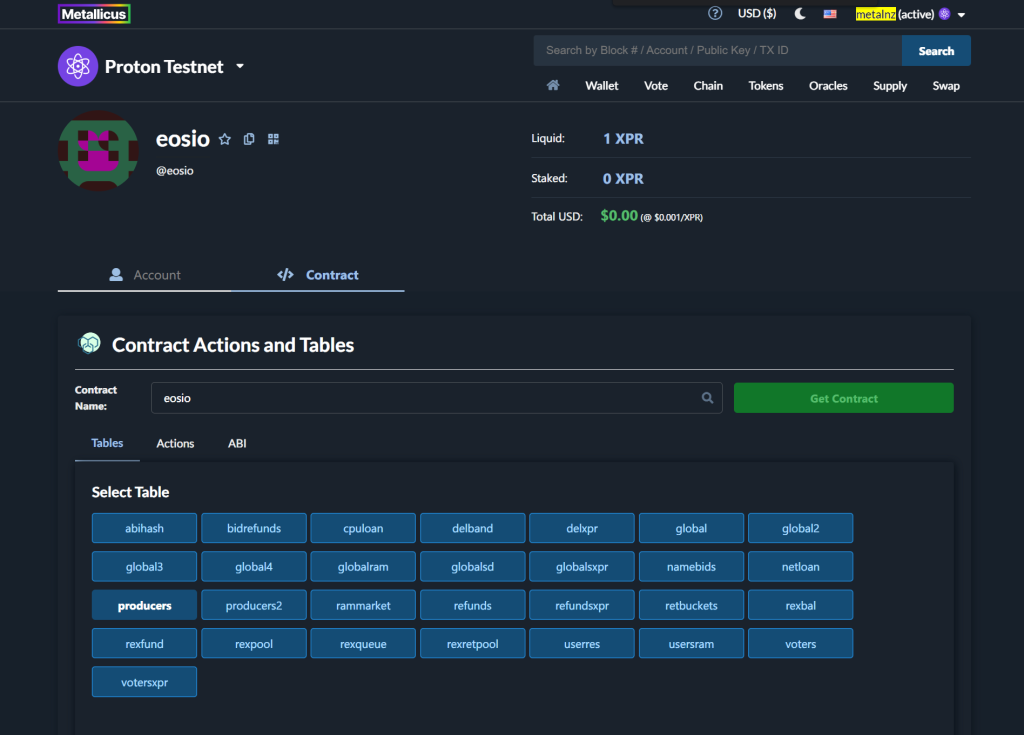
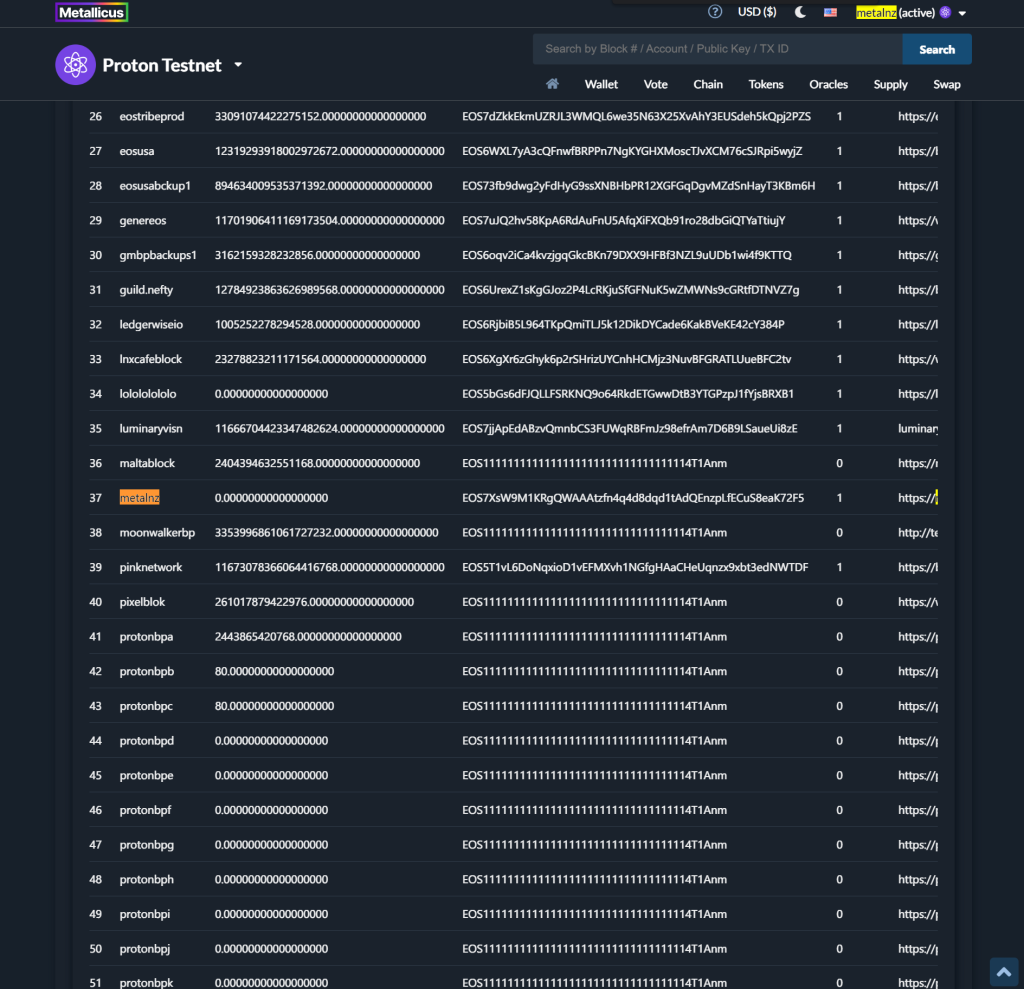
Let’s visit the producers table on the eosio smart contract and look for your block producer name in the table to confirm you are registered!
Phew!
Look at us, we have come so far today already!
Step 3 – Start Producing Blocks!
Ok let’s switch back to our terminal, make sure we’re in the /opt/ProtonTestnet/protonNode folder and use the ls command to check directory for a file called config.ini
We’re going to edit this file
sudo nano config.ini
That will open a file editor in terminal
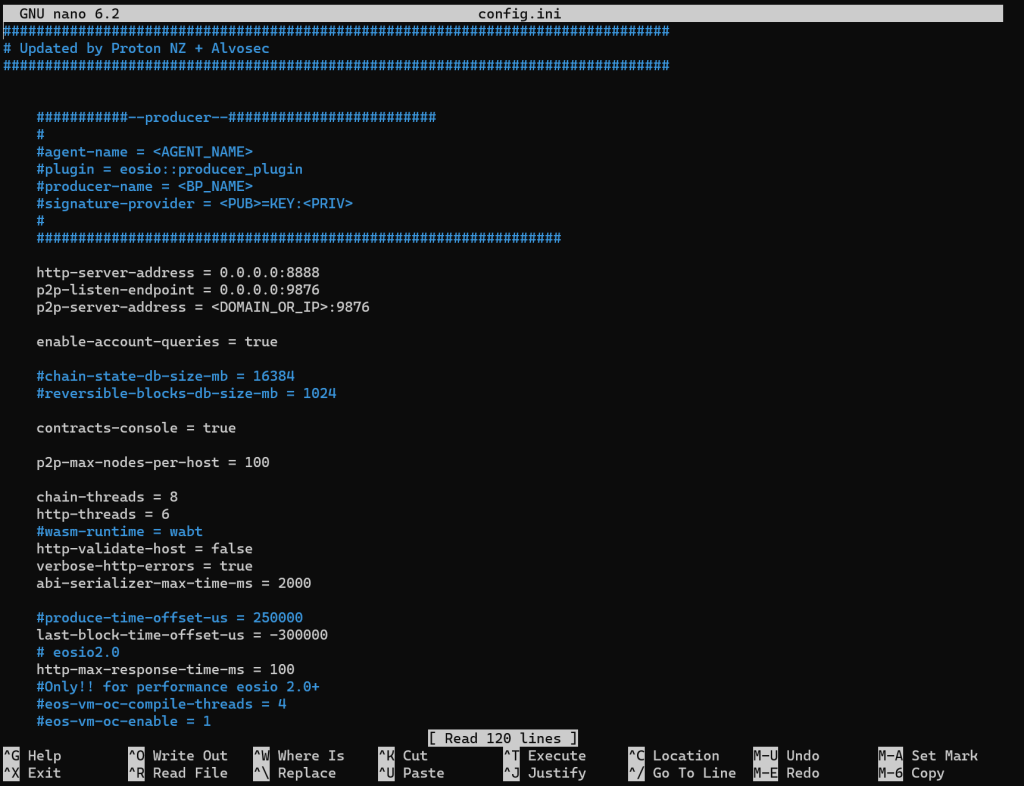
Using your arrow keys uncomment the four producer lines at the top and enter your details.
Uncomment the plugin = eosio::producer_plugin
Remember that new PRODUCER KEY we generated above? This is where we need the PUB and PVT keys together.
For signature provider paste your PUB_K1_ key (by right clicking on your mouse) then =KEY:PVT_K1…rest of your key
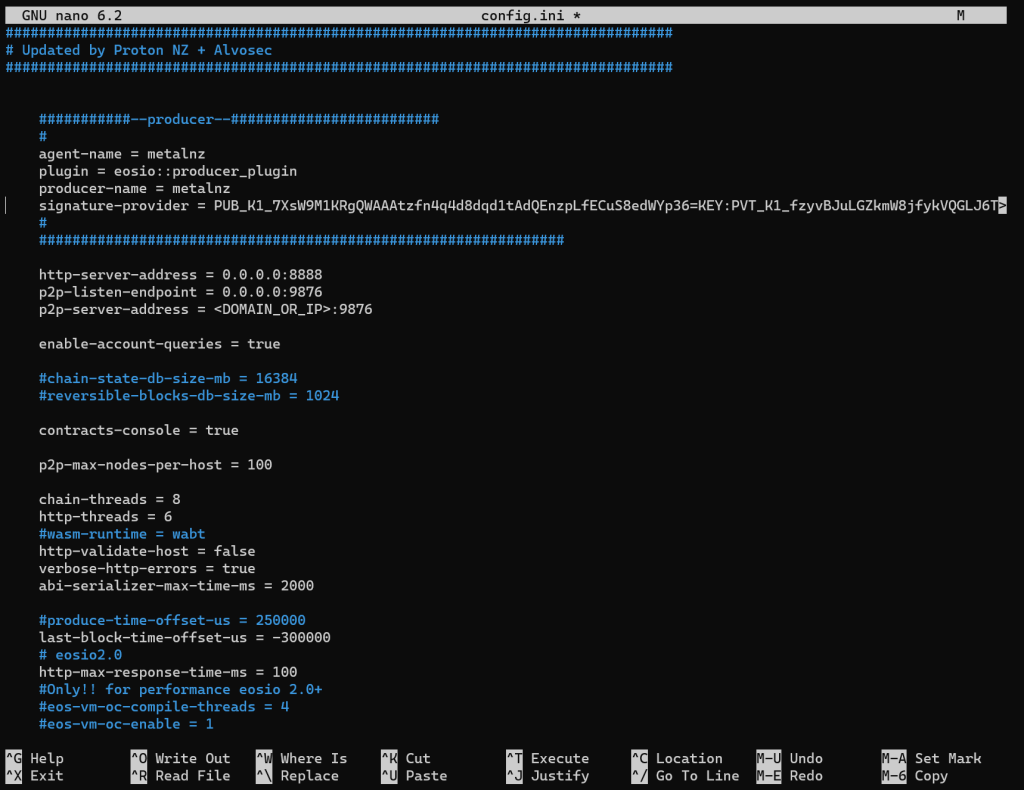
This will allow us to verify our Block Producer node with the public key we registered (regprod) with earlier.
Once you’ve made the changes press Ctrl + X, it will ask to save modified buffer

Press Y
It will ask for filename to write, just press enter to write config.ini

We should be back in terminal like this.

Congrats you just edited a file entirely in terminal.
Since we’ve updated our config.ini file and enabled the producer plugin we need to stop nodeos and start it again.
sudo ./stop.sh

sudo ./start.sh

Now let’s check the logs!
tail -f stderr.txt
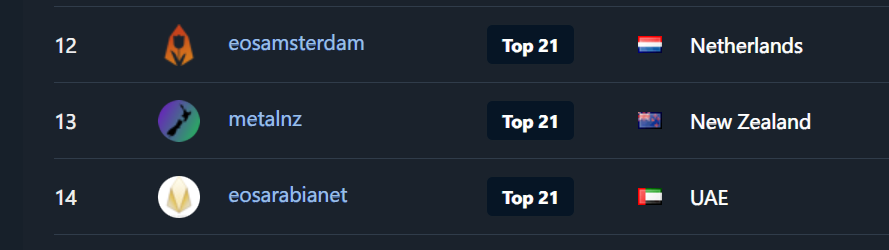
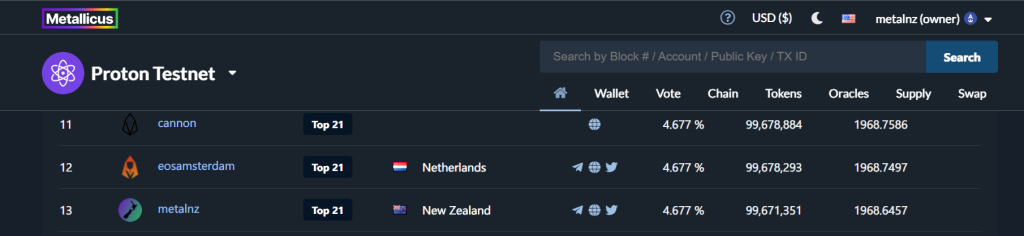
Now Ctrl + C to exit this and let’s go check testnet.explorer.xprnetwork.org to see if we’re listed among the other Block Producers on testnet…
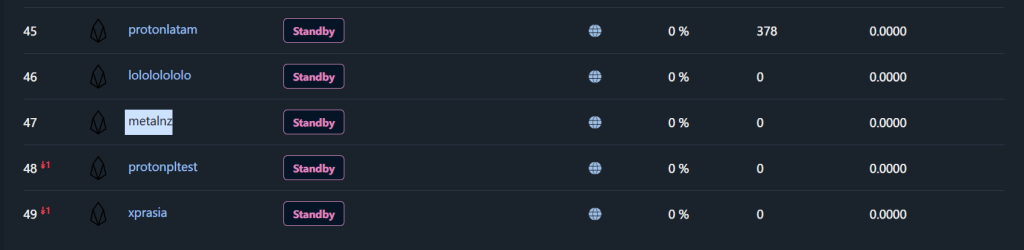
Looks good! Now we’re ready for some votes!
Once you get some votes on your testnet node and enter the Top 21 on testnet, your node will start producing blocks.
If you follow the logs once you’re in the Top 21 you will see a bunch of logs showing BP’s producing blocks in alphabetical order. Wait a couple of rounds for you to enter the schedule and start producing blocks.
Remember to follow log like this…
tail -f stderr.txt
Once you are actually producing you will see this!

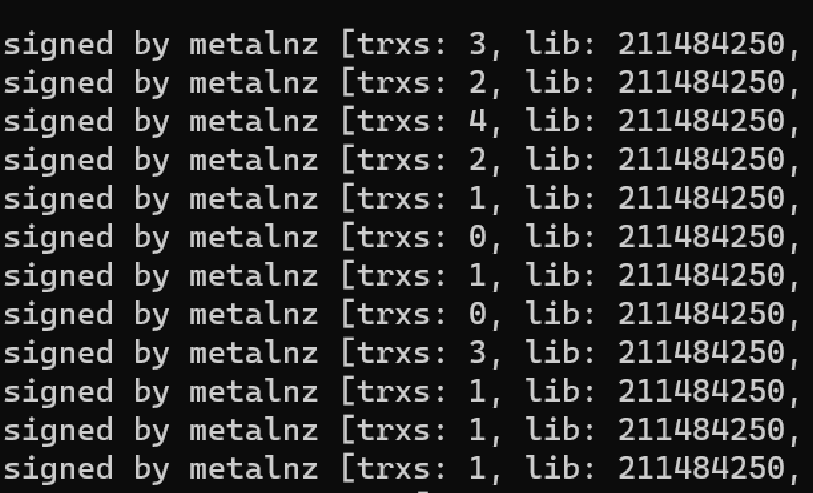
That means we are successfully producing blocks on Proton Testnet!
Woooo!
Now join the Testnet Reliability Tracker on Telegram to monitor Block Producers nodes for any downtime.
Let’s check in on our node to see the CPU and memory usage by installing htop
sudo apt install htop
htop
And you will see a graphical interface like this showing CPU usage and Memory

Step 4 – Setup a website and bp.json
Ok this next section is going to be helpful for someone that doesn’t really know where to start with their website hosting.
Let’s just get something cheap, that works.
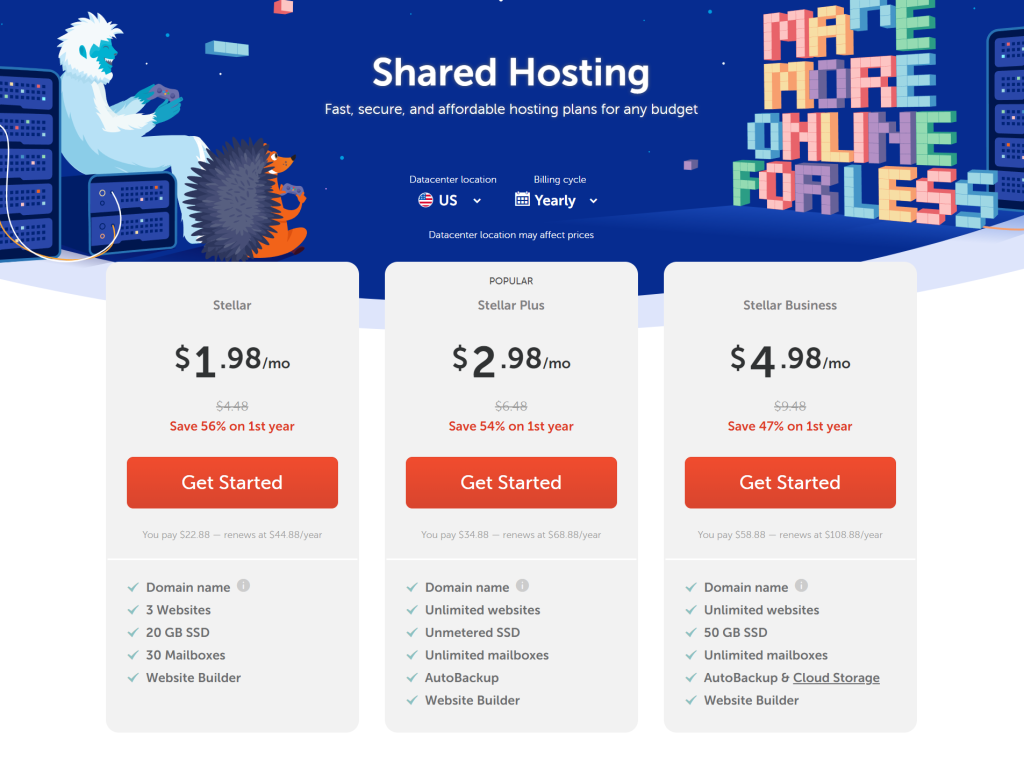
Make sure you already have a domain name purchased and select the domain to connect.
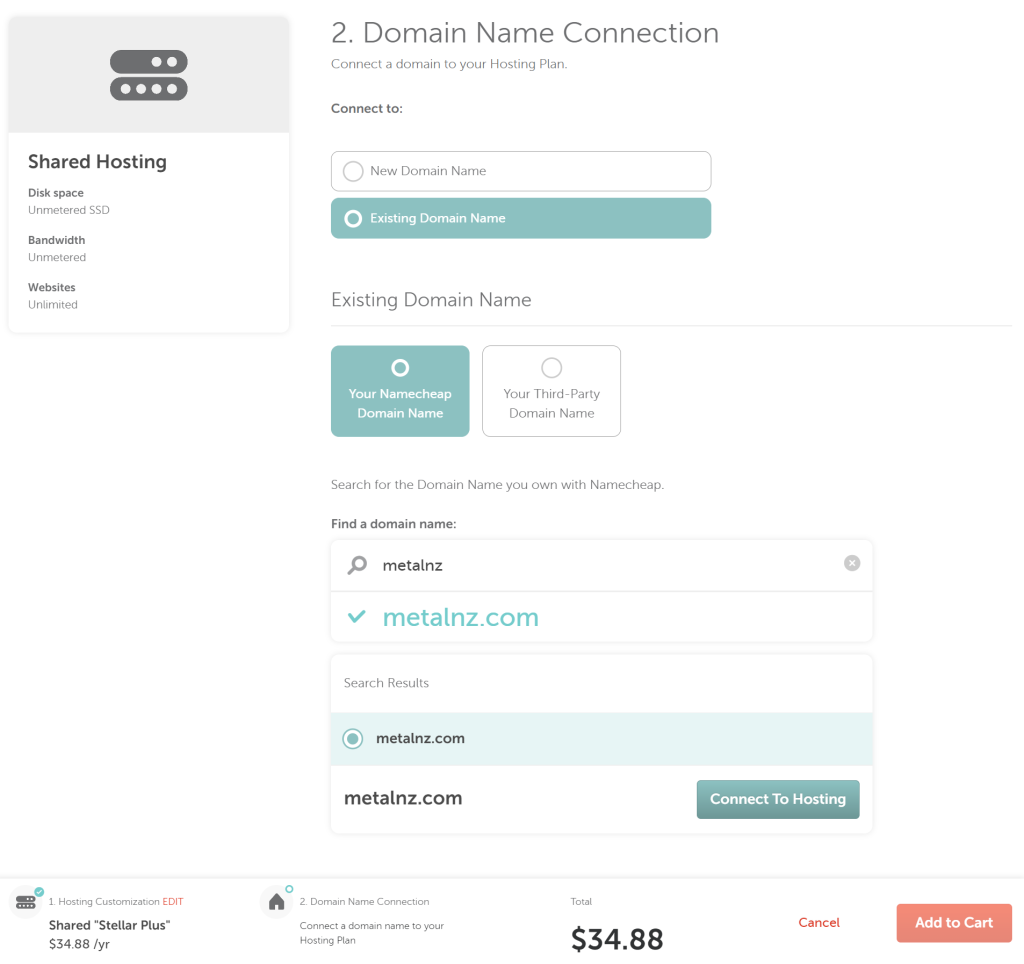
Click Connect To Hosting and Add to Cart.
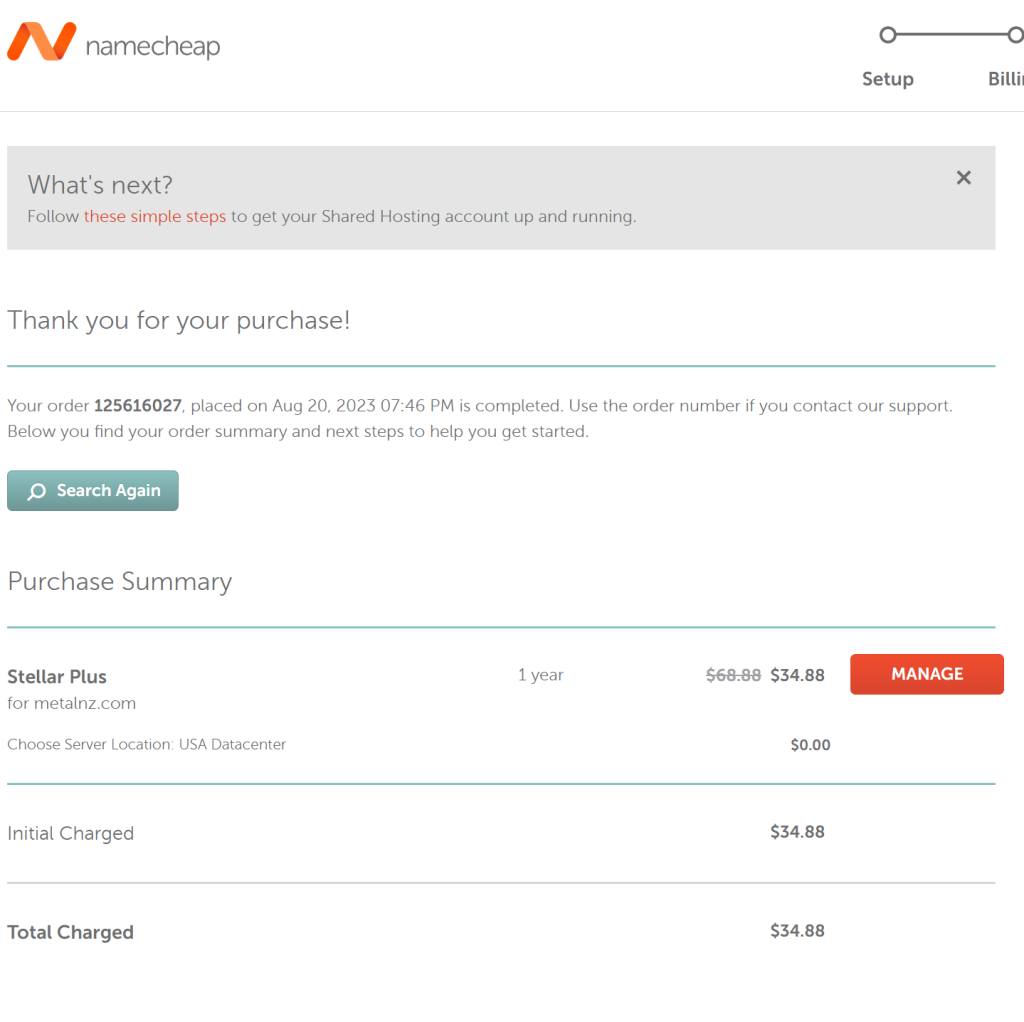
Once you’ve completed payment click on the orange MANAGE button.
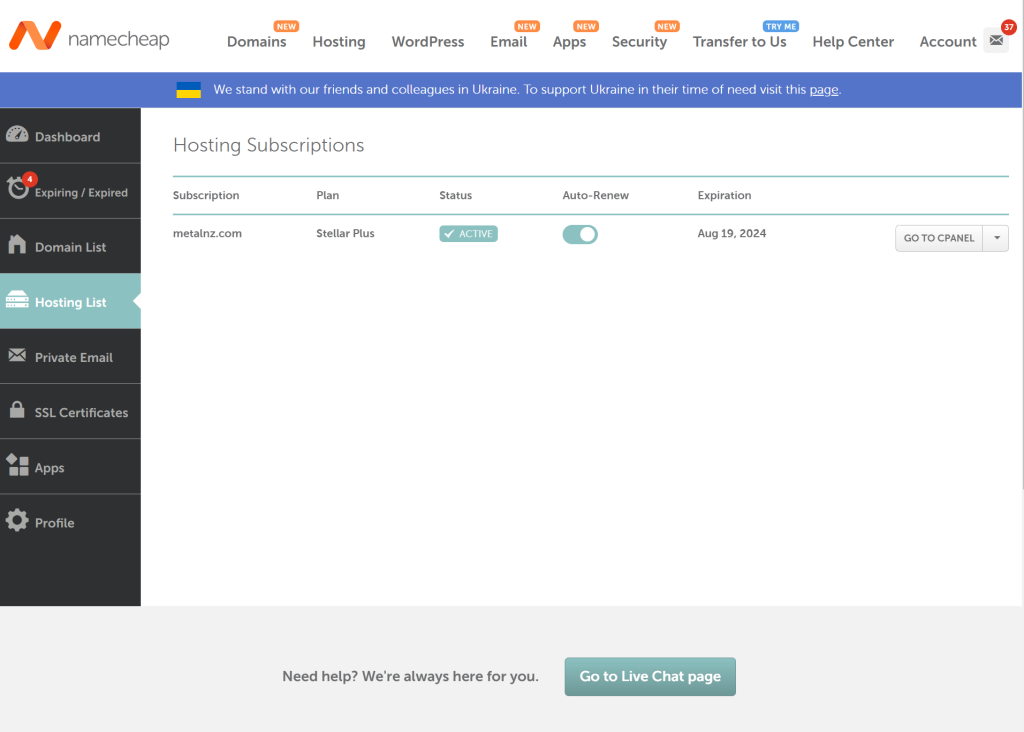
Select Hosting List on the left and then choose GO TO CPANEL
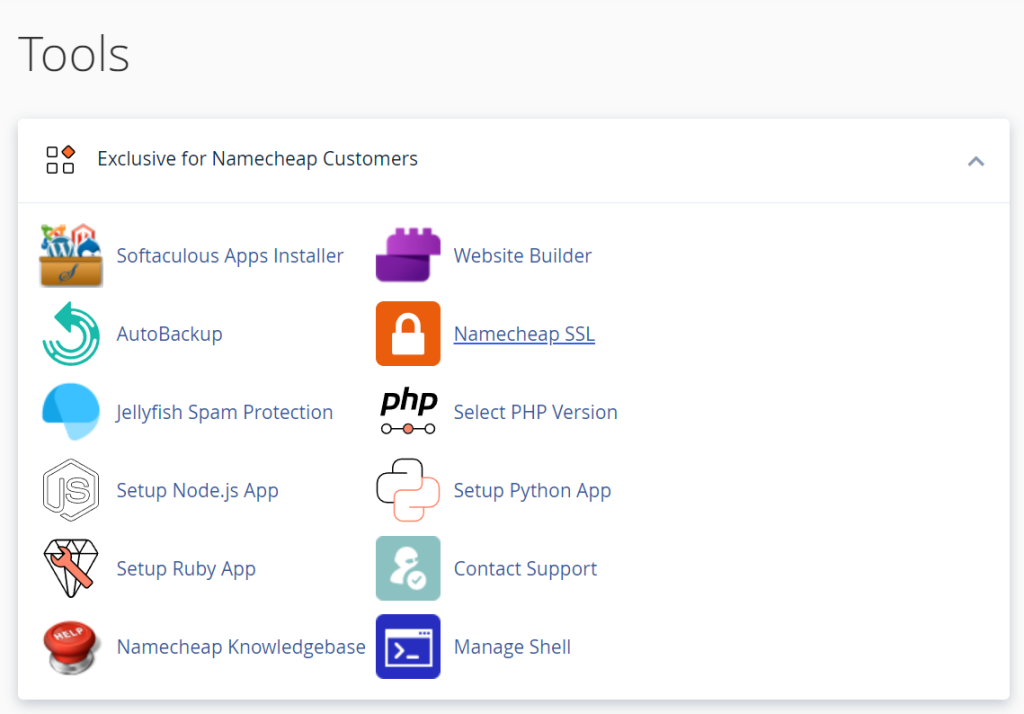
Once you’re in the CPANEL you will have a bunch of options and tools.
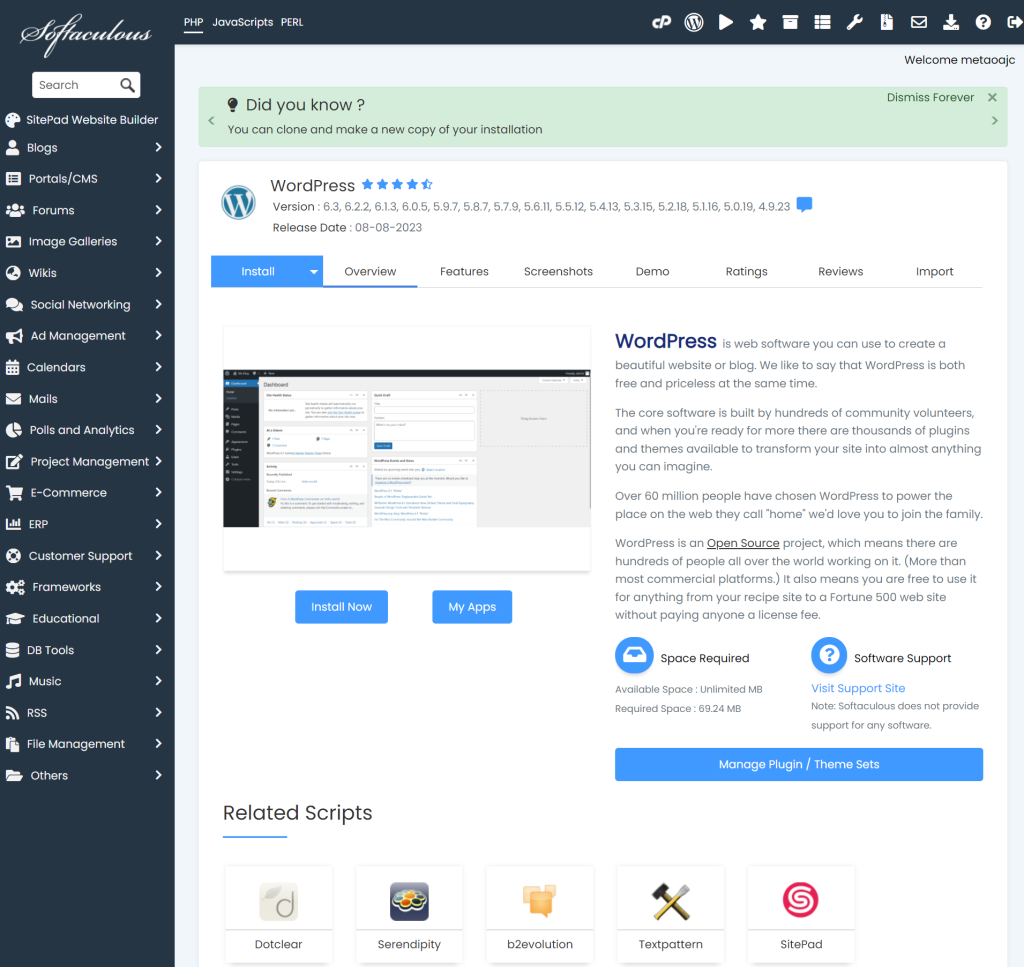
In the scripts section let’s add a WordPress install.
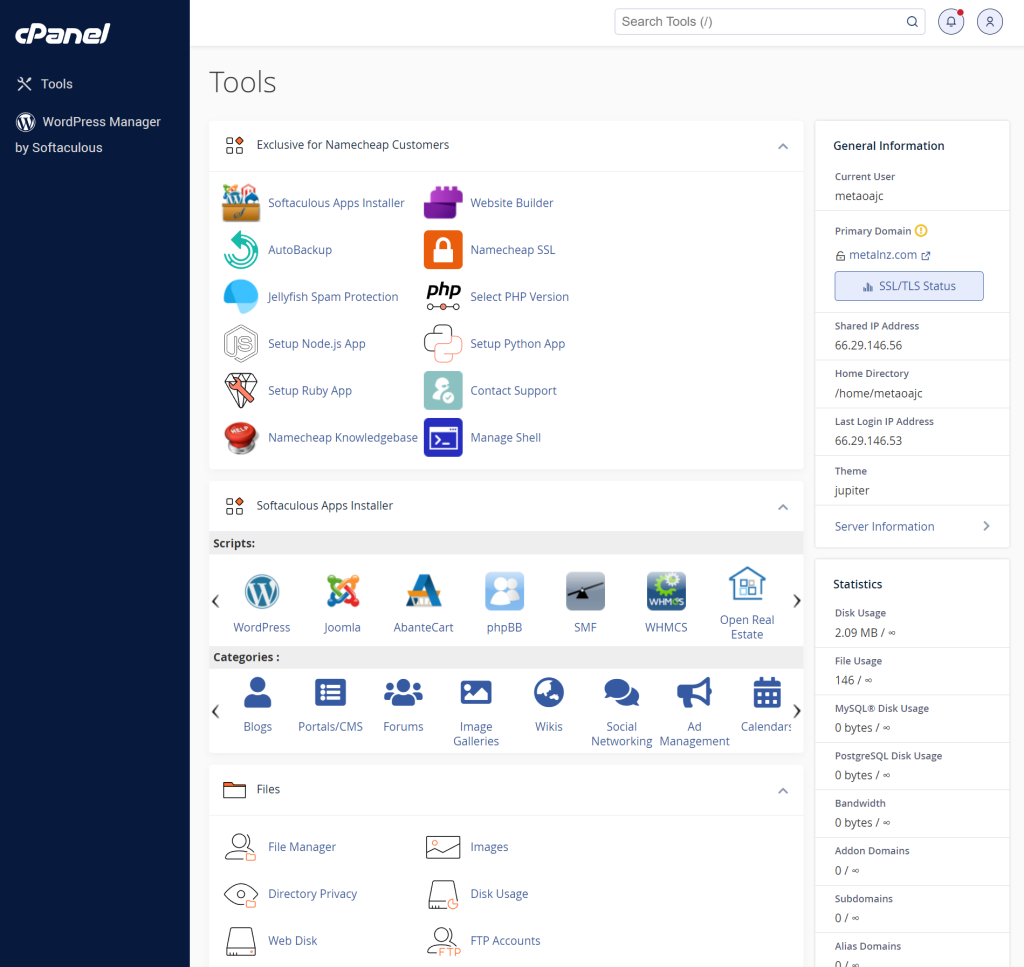
Click on the WordPress logo and you will open a page like this. Click the blue Install Now button.
Now you can configure your WordPress install.
Choose a Site Name, Description, Admin Username, Password & Email
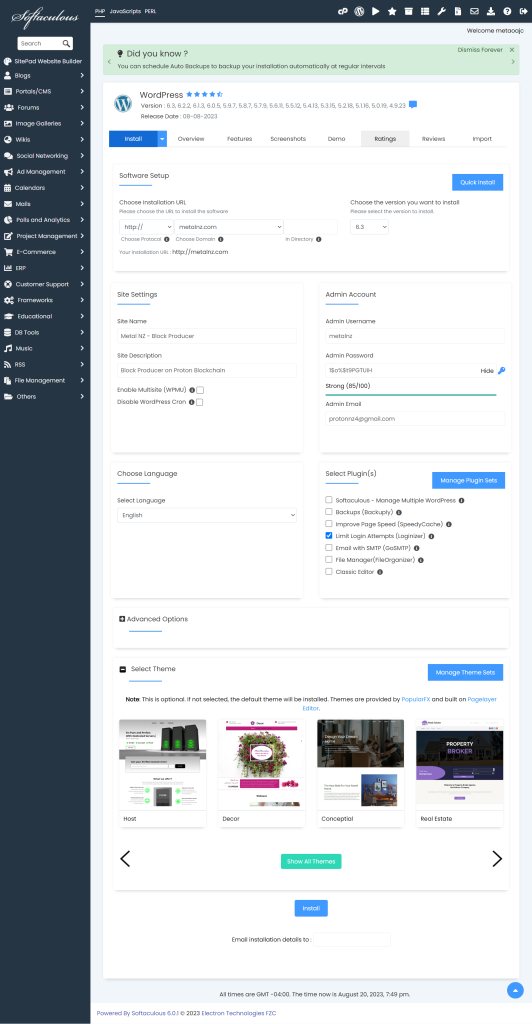
You can even choose a theme then at the bottom of the page press the blue Install button.
It may take a few minutes to finish installing, once it’s finished you will get a link to your new wordpress install and a link to your wordpress admin panel.
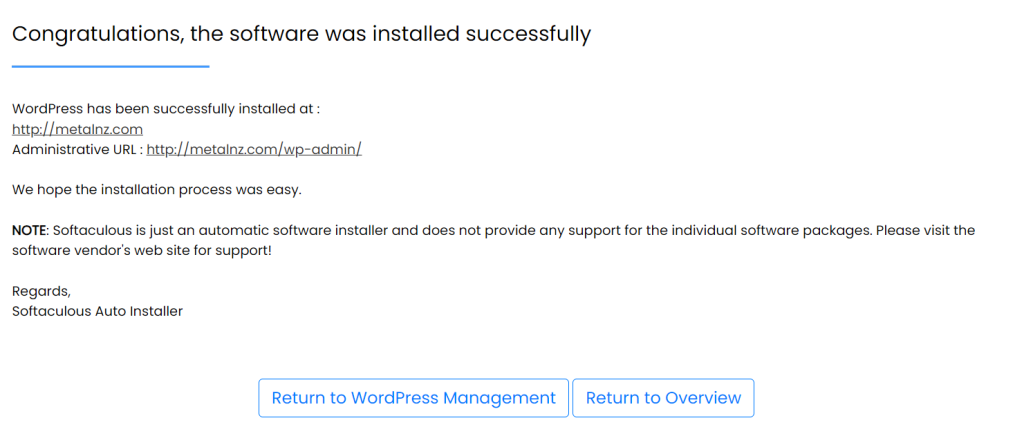
It may take up to four hours for your new domain name to properly point to your new wordpress installation so be patient.
In the mean time let’s get our bp.json file setup. This allows protonscan.io to correctly find and display our logo and links to our website, twitter and telegram on the homepage with the other BPs.

Go back to the CPANEL by clicking this cP button at the top of the softaculous page.
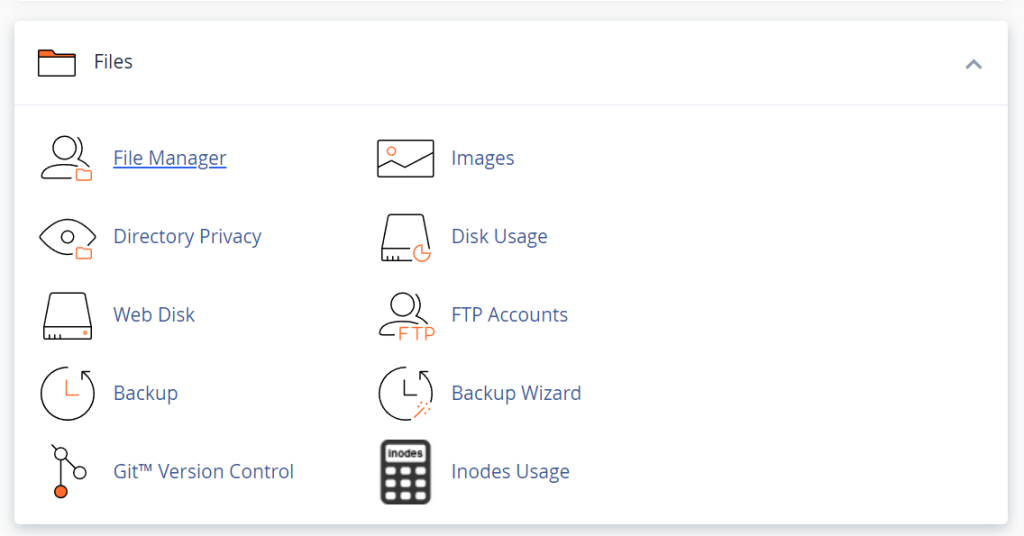
Scroll down to the Files section and select the File Manager
Open the public_html folder with the globe, this is where all the public facing files for your website live.
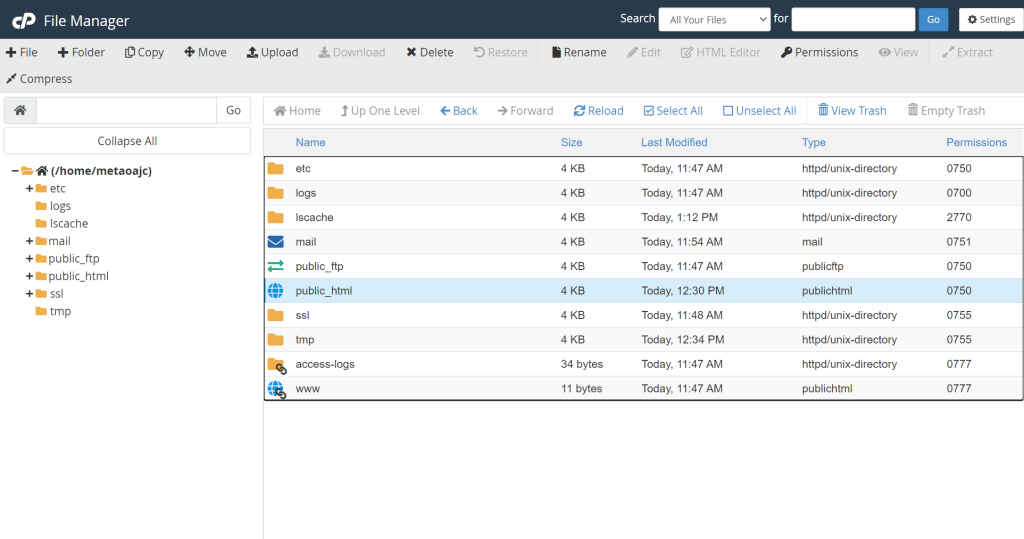
You should see a folder structure like this with your wordpress files. On the top left below the File Manager logo select + Folder to create a new folder and call it testnet
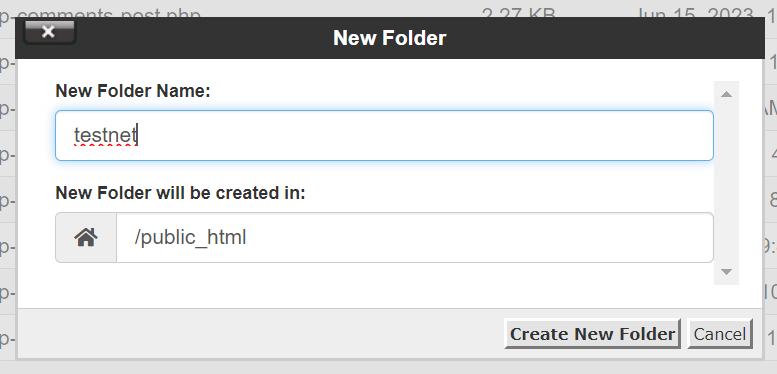
Select Create New Folder then double click it to enter the folder in the file manager
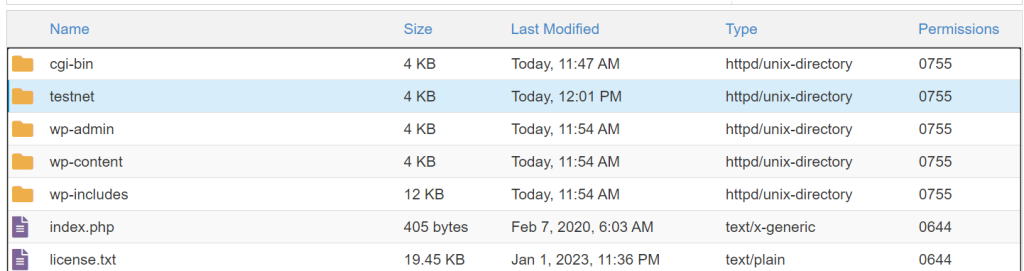
Now press the + File button next to the new folder button we just clicked and create a new file called bp.json
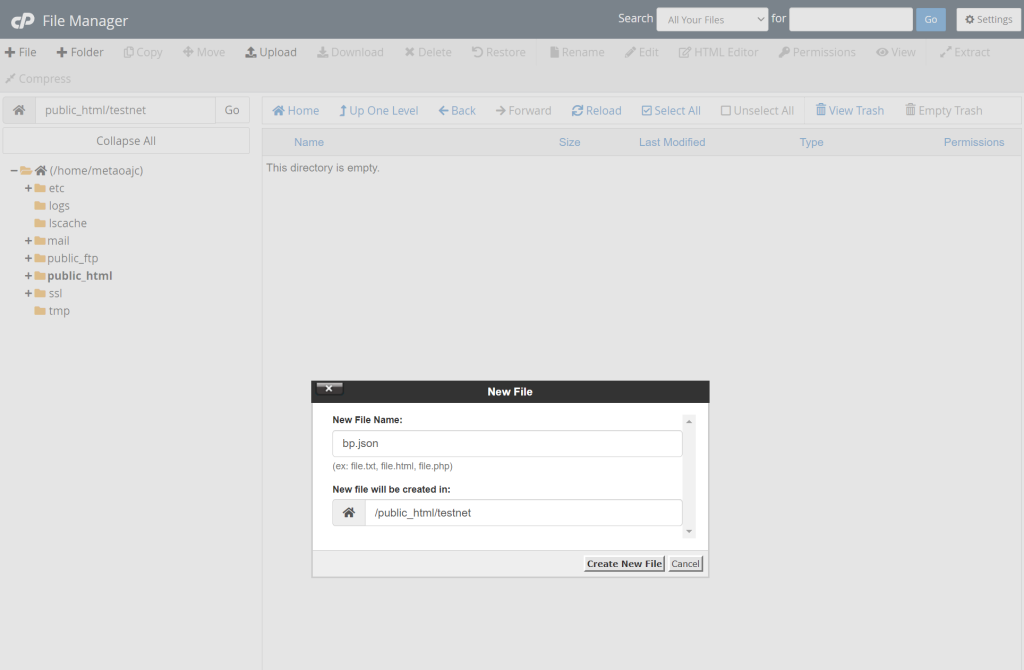
Select Create New File.
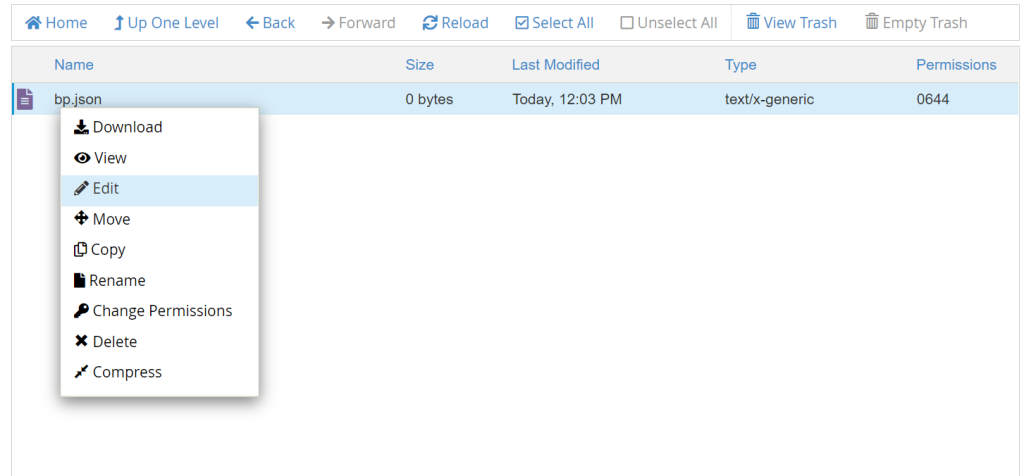
Then right click the new bp.json file and select Edit
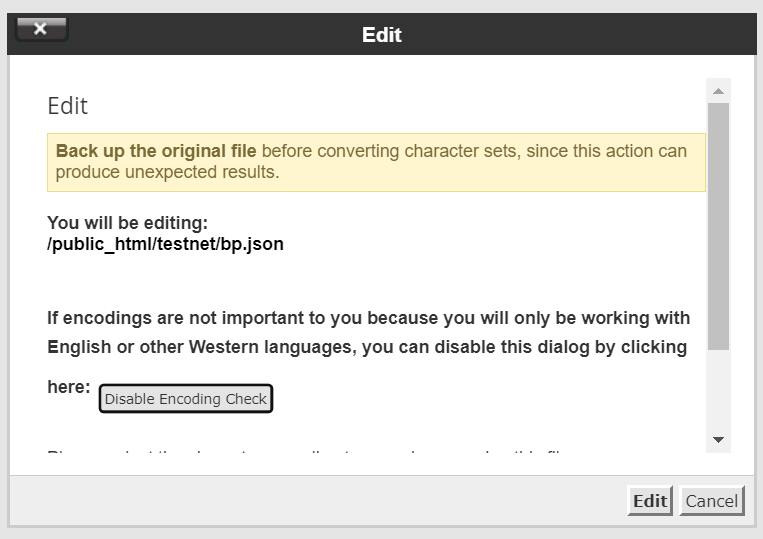
Simply select the Edit button on the lower right.
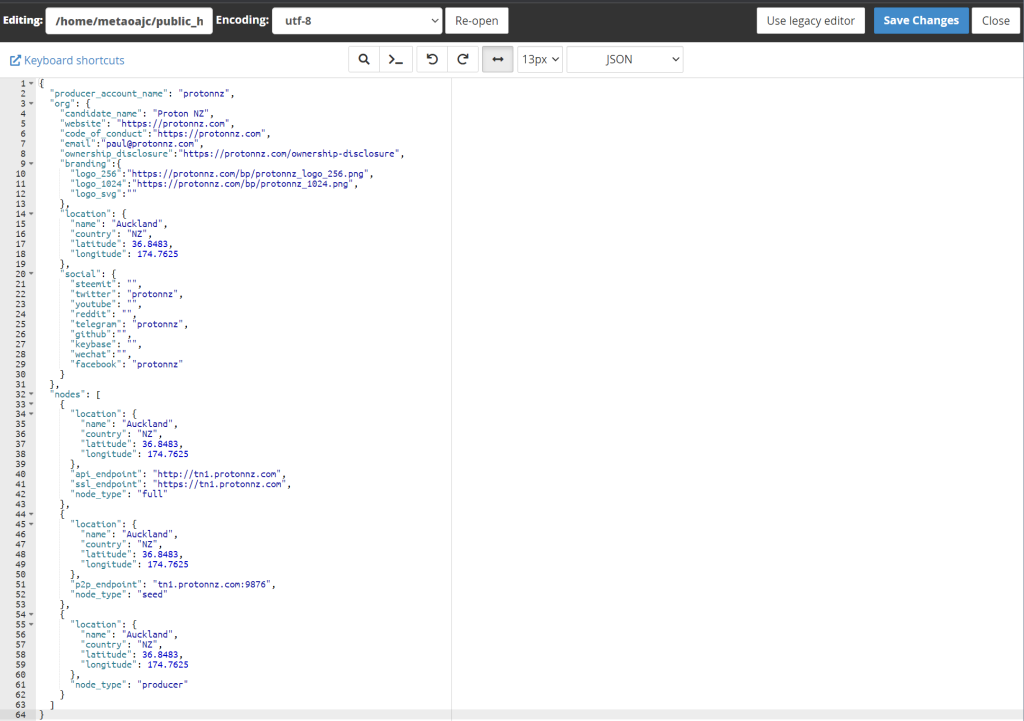
Now open this file from protonnz in a new window and copy the text
Switch back to your new bp.json file you’re editing in the file manager and paste the text you just copied.
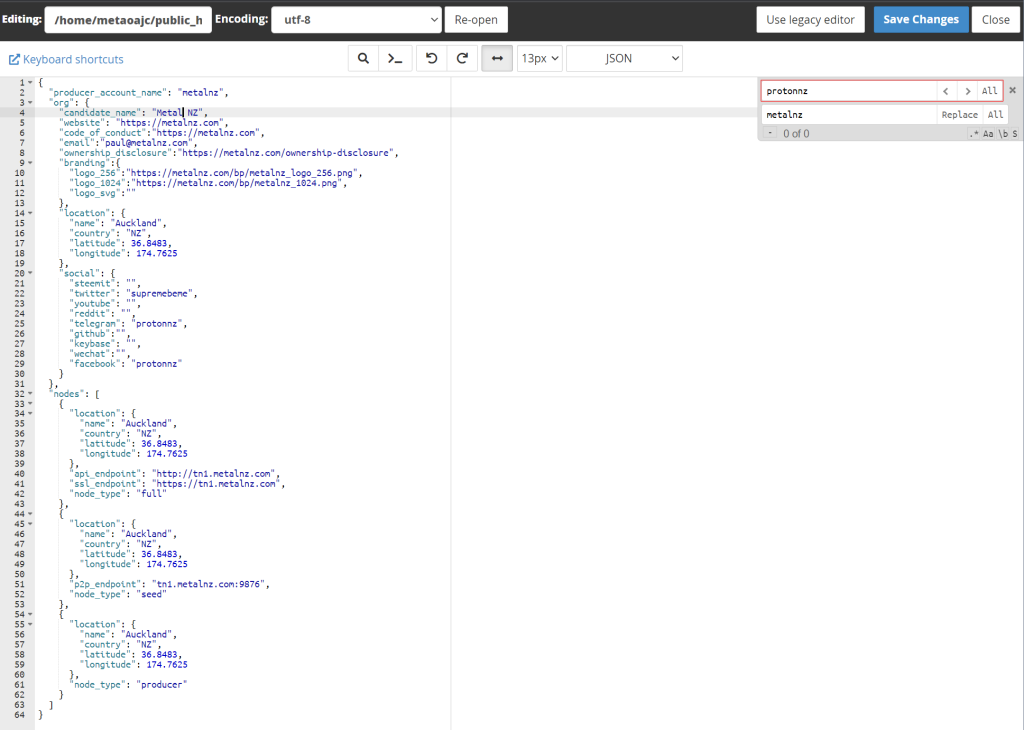
Now we need to edit the information with our own data and settings!
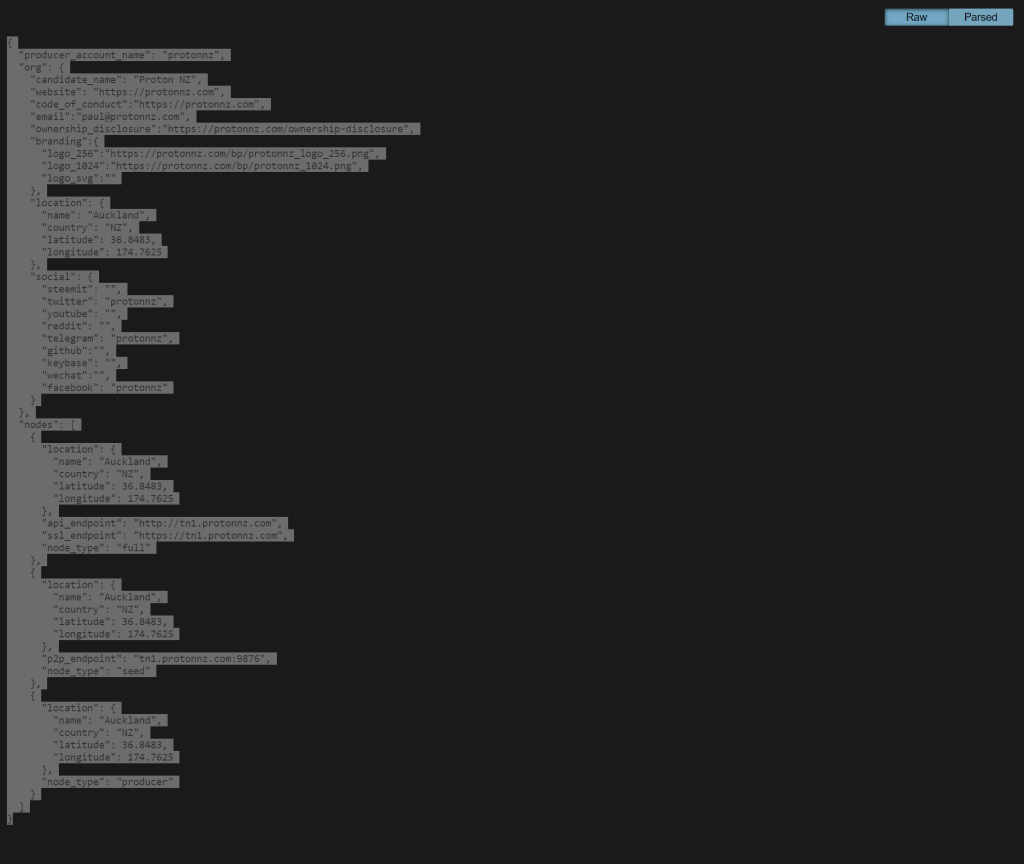
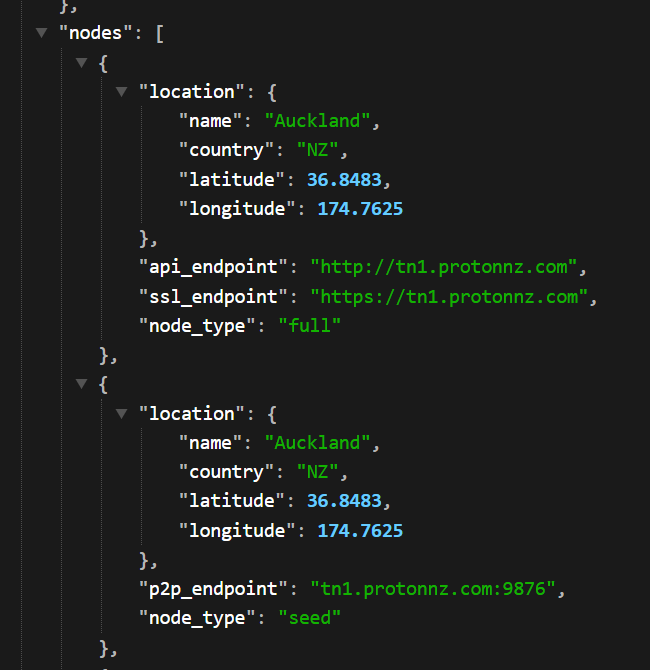
Go ahead and replace all the protonnz details with your own, in this case I’m going to use metalnz for our example BP. Make sure to update your location with a two digit country code (NZ, AU, UK, US etc), enter the correct lat/long for your server location. Find it here.
You can also generate a testnet bp.json file here.
Here’s what mine looks like!
Now click Save Change in the top right to save your file. We will probably come back to this file later so remember how to access it.
Now close the editor with the close button top right next to Save Changes.
Now you may have noticed we edited the URL to a couple of images that should be our logo in different sizes, but we haven’t uploaded them yet!
Prepare a logo (should be 1:1 ratio, or square) and save two different sizes as PNG format.
metalnz_logo_256.png
metalnz_logo_1024.png
Here’s mine!
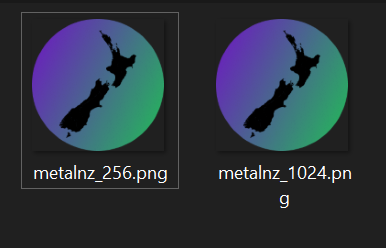
You should have a couple of image files name like this, but swapped with your own bp name.
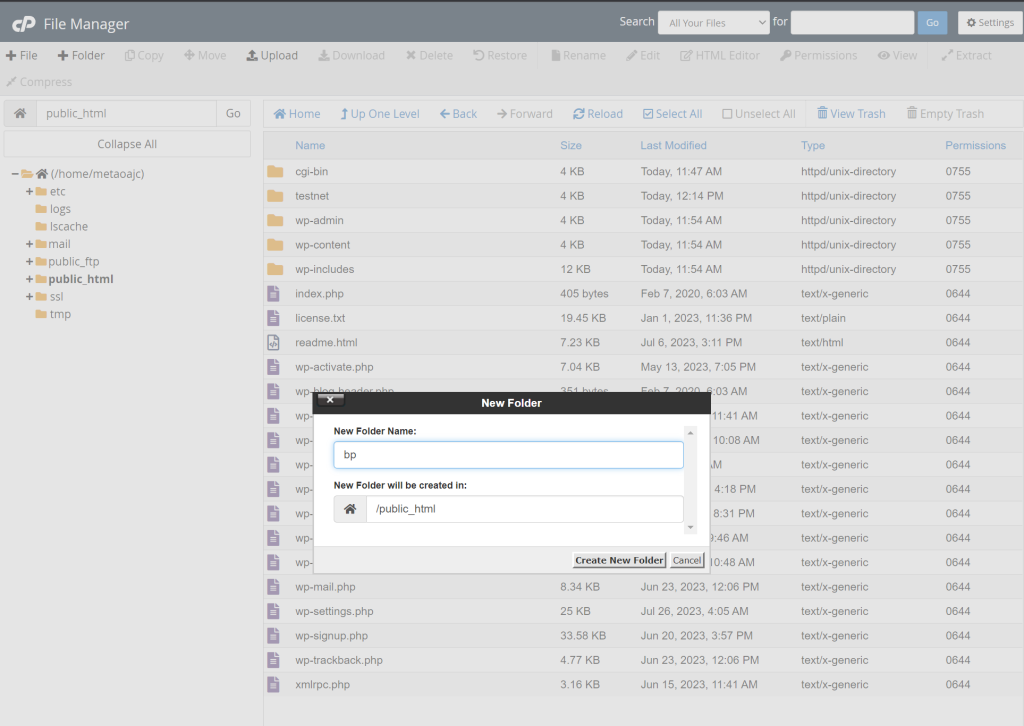
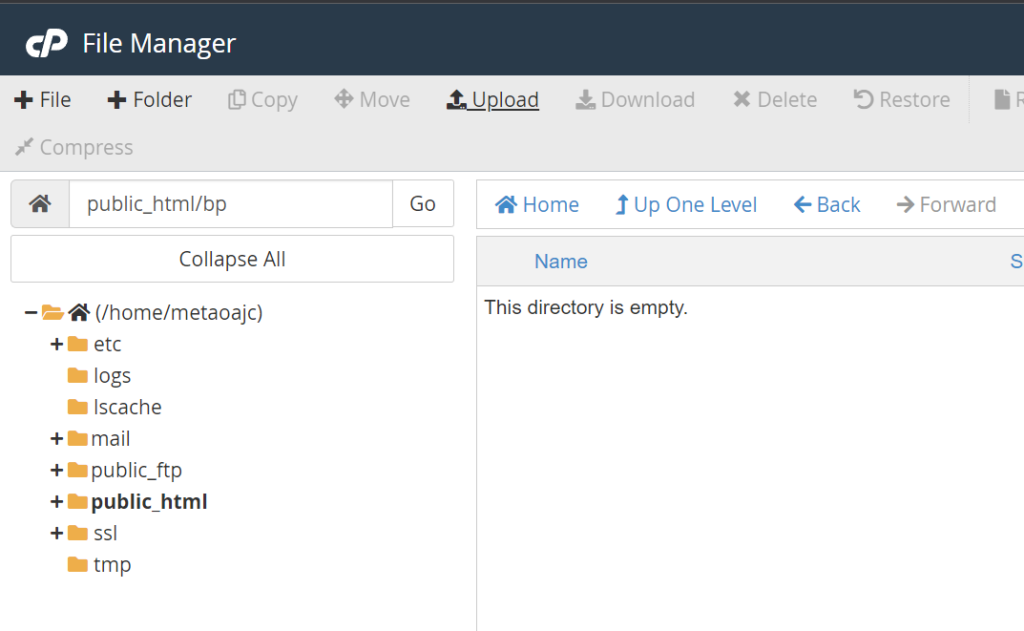
Now we are going to return to the File Manager in cPanel and make sure we are in the public_html folder.
Create a new folder called bp
Enter that folder then press the Upload button at the top
A new window will open where you can drag your two logo files.
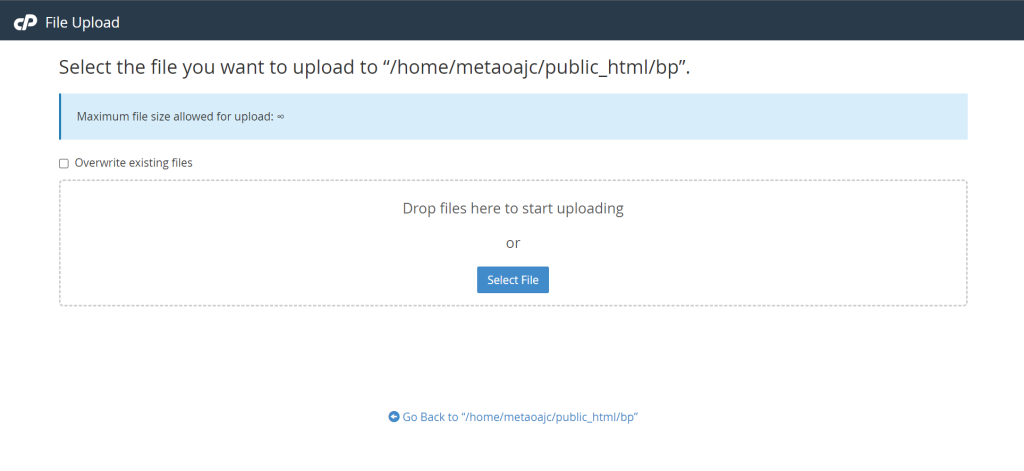
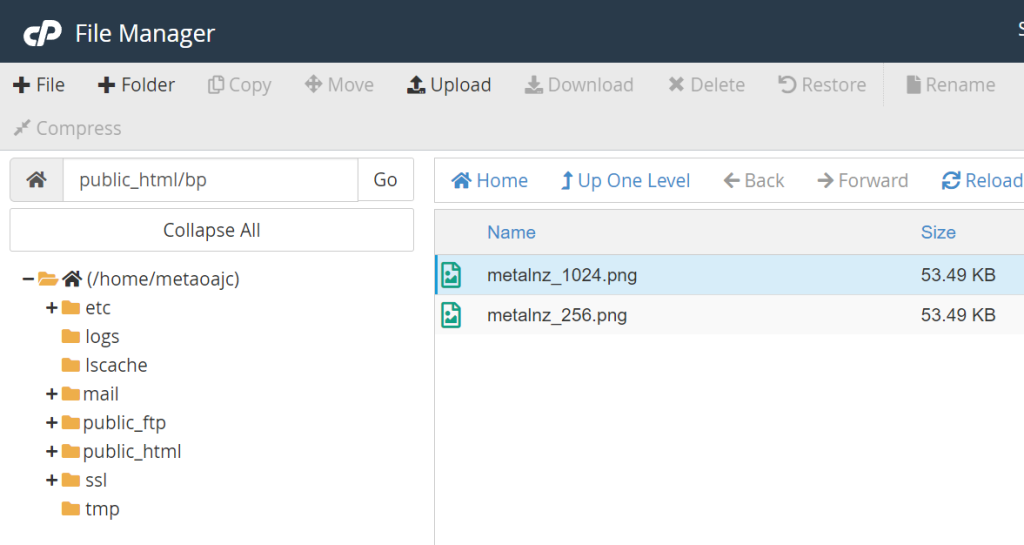
Once that’s done click close the window and go back to the file manager.
Now those two logo files should be in our public_html/bp folder on our server.
You need to make sure that your bp.json file you just created in your testnet folder correctly points to your new logo images.
You can edit the bp.json file again to make sure the URLs are correct.
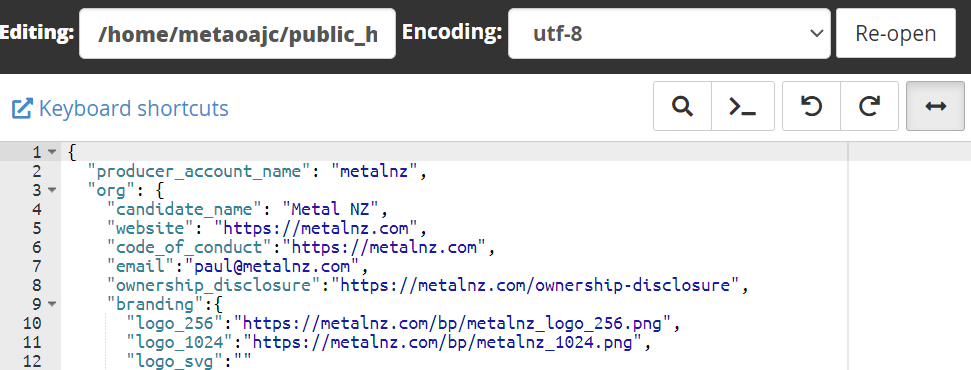
Check the logo_256 and logo_1024 fields.
Great work, now you have your bp.json file in your testnet folder on your server and we can update the smart contract to pick up the correct URL.
Let’s go back to the regprod action we completed earlier on protonscan.
Or visit this link below…
It will take us to the eosio smart contract where we can select an action, in this case it will be regproducer that registers our account as a block producer again, but this time we will submit with a slightly different URL.
Enter your BP account name under producer (in my case it’s metalnz)
Enter your producer_key from earlier and your country ISO code you found earlier.
Now this time, under URL we want to add a /testnet to the end like so…

Submit Transaction and authorize with your WebAuth wallet.
Let’s go back to the protonscan.io homepage and see if our logo has updated.
It may take up to an hour or so for this to update.
Looks good.
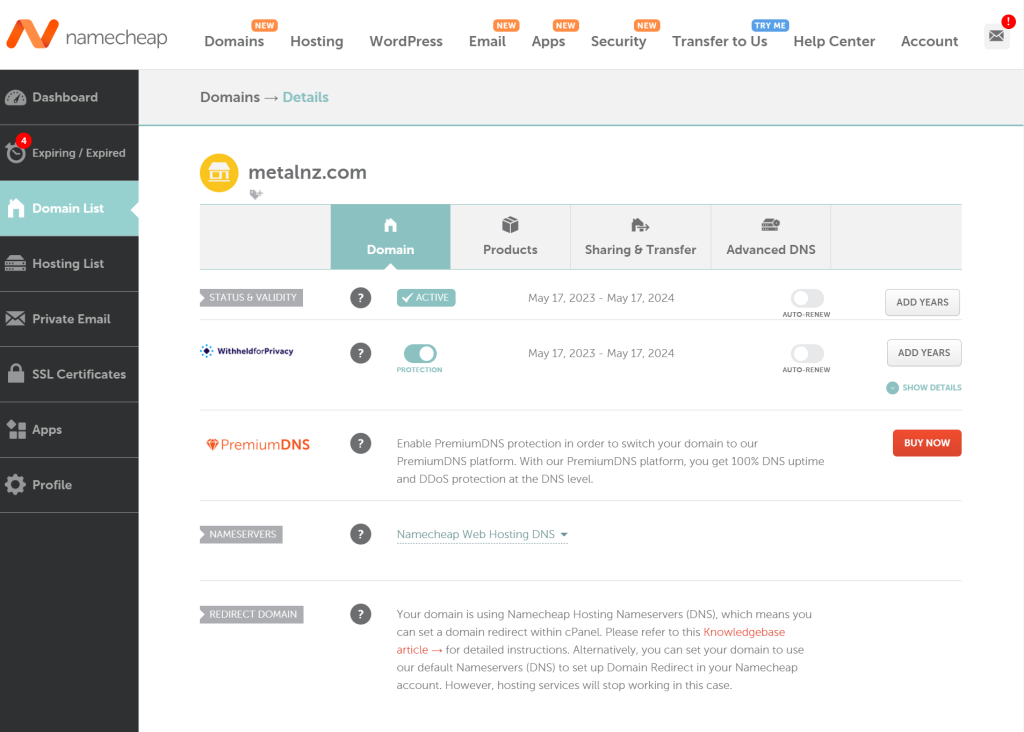
If after you’ve done all this and your website still isn’t loading and you followed this tutorial exactly. Check your domains list in namecheap and make sure that the NAMESERVERS setting is set to Namecheap Web Hosting DNS
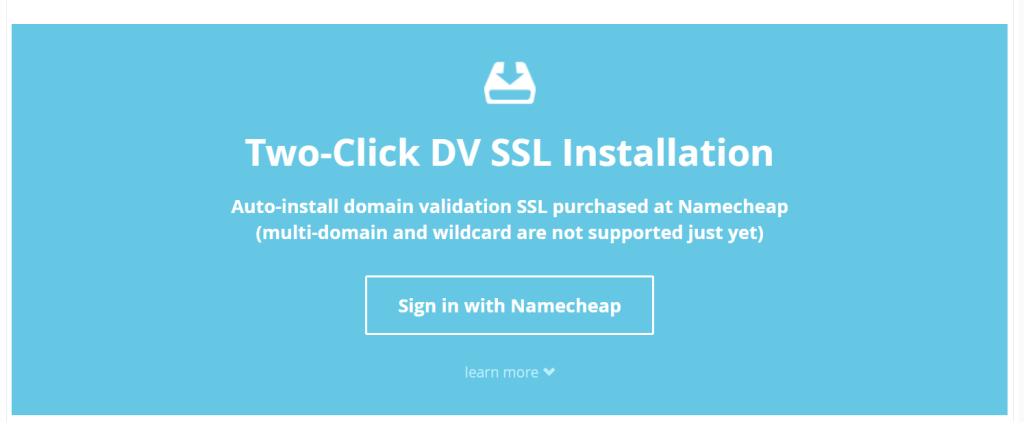
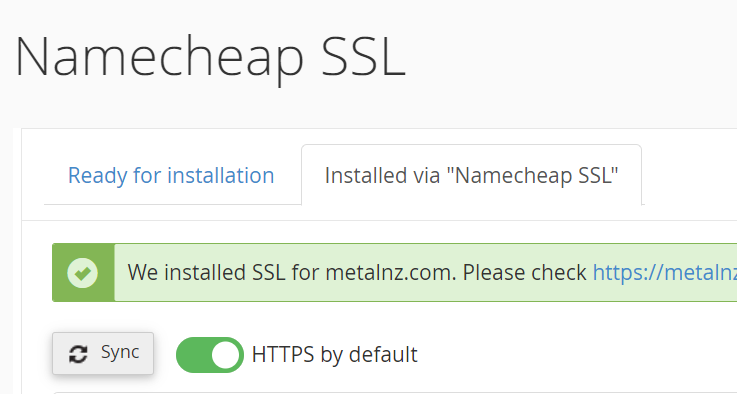
Now back on cPanel let’s connect our SSL cert by clicking on Namecheap SSL
Sign in with Namecheap
Select Installed vis “Namecheap SSL”
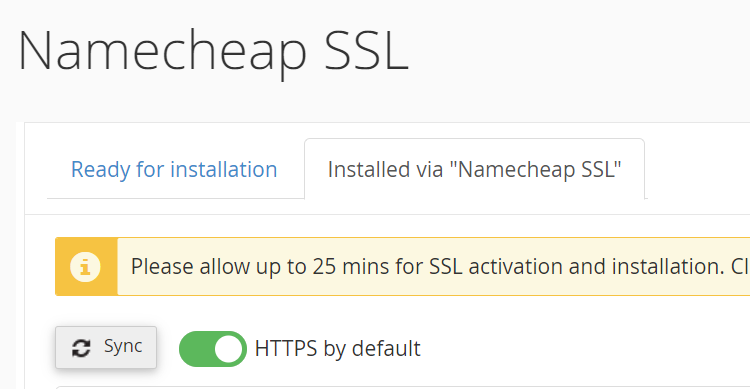
Then Click Sync
After some time your SSL certificate should be showing Green and active
Great job, by this point your block producer logo should be showing on protonscan.io testnet
Now remember in our bp.json we set tn1.metalnz.com that points to our api end point. This domain or subdomain essentially points to our Block Producer server IP address.
You were given this IP address from contabo, it’s the same one we SSH in to via terminal.
Let’s return to our cPanel login and scroll down to Domains
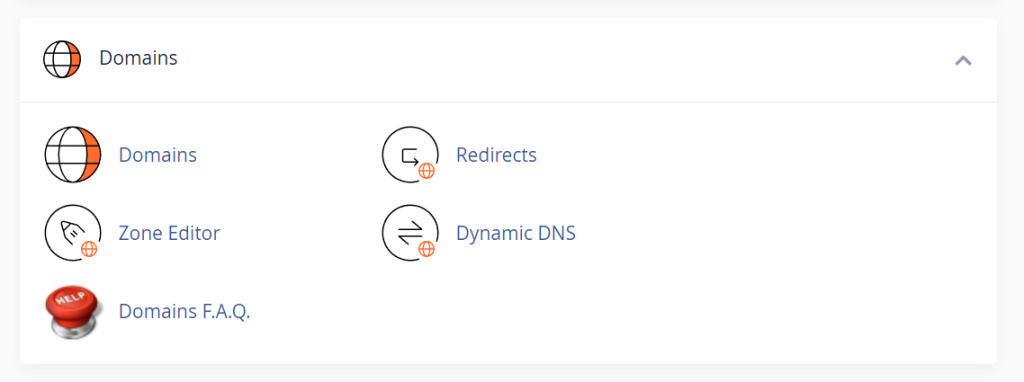
Select Zone Editor
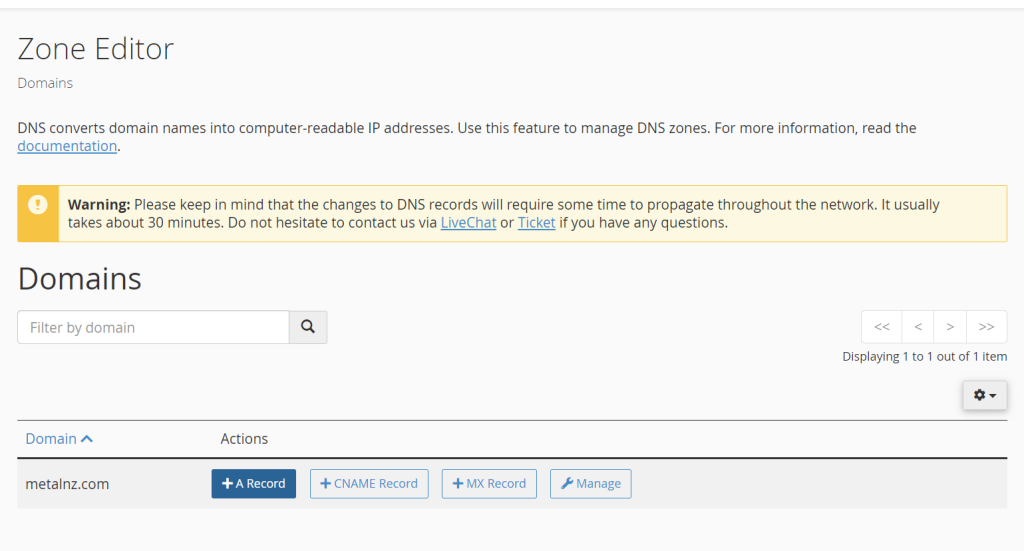
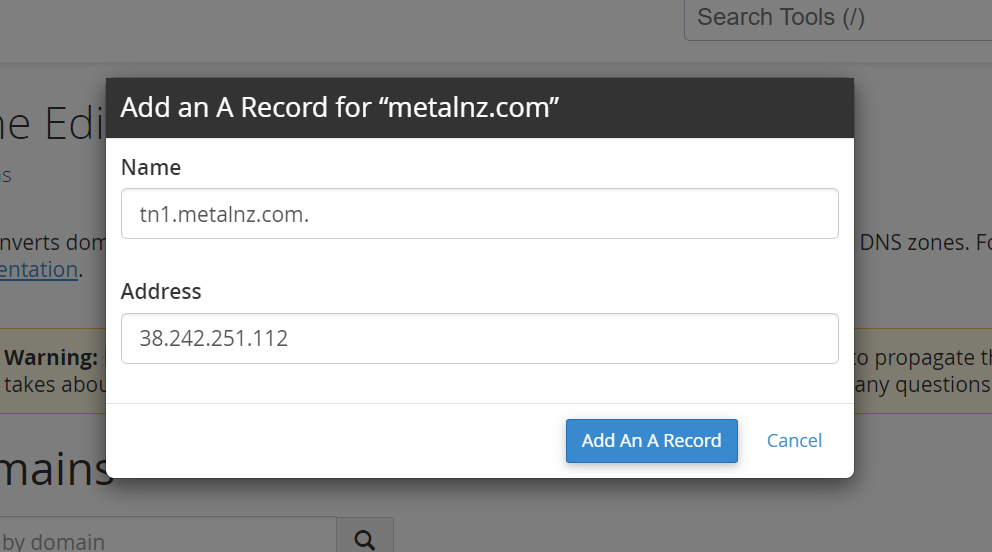
Choose + A Record button and in the Name field enter the subdomain you want to point and the IP address is your node server IP address.
In my case you can see I’m entering tn1.metalnz.com.
Don’t forget the trailing dot! .
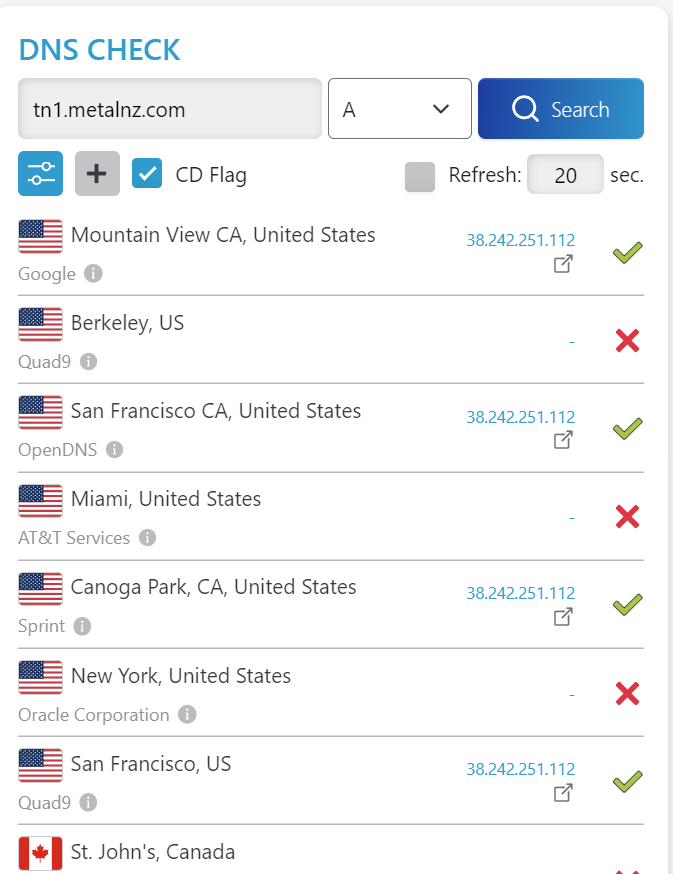
Now wait a couple of hours for the DNS to propagate. You can check the status of the DNS using the dnschecker.org website by entering your domain name and pressing the check button, you are looking for the IP address. It should match your node server IP address.
I only just changed this value on my cPanel and you can see some have updated and others haven’t, in a few more minutes this will be complete.
Once that is ready you can see if the domain name links to your node server for example http://tn1.metalnz.com
Let’s ping the api and get chain_info
https://tn1.metalnz.com:8888/v1/chain/get_info
You should see something like this
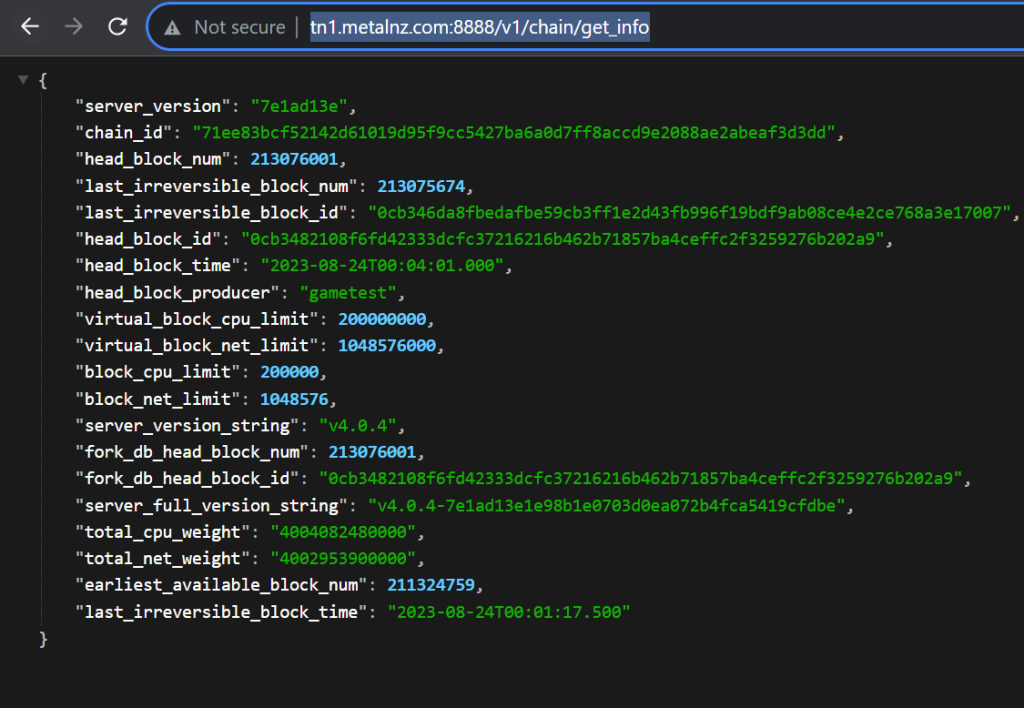
Great work!
If you see some info about the blockchain like above your API is responding!
We can also add this url to our seed hostname on our node.
So ssh back in to your node on the IP address using the terminal
Make your way to the protonNode directly, remember you can use the up arrow key to find previous terminal commands.
cd /opt/ProtonTestnet/protonNode

sudo nano config.ini
So that we can edit the config file again and update the p2p-server-address with our subdomain like so

Ctrl + X to exit and then press the y key and press enter.
Now while we’re in the protonNode folder let’s stop nodeos and start it back up again so that it picks up the new config.
sudo ./stop.sh
sudo ./start.sh

I think we’re in pretty good standing by this point.
You can start checking off your list in preparation for Main Net.
On MainNet you need
- 1 x Block Producer Node
1 x API Node - KYC account with accurate Ownership disclosure (list who owns your BP on your website)
- Website showing accurate information
- X.com & Telegram Link
- Sign Code of Conduct